
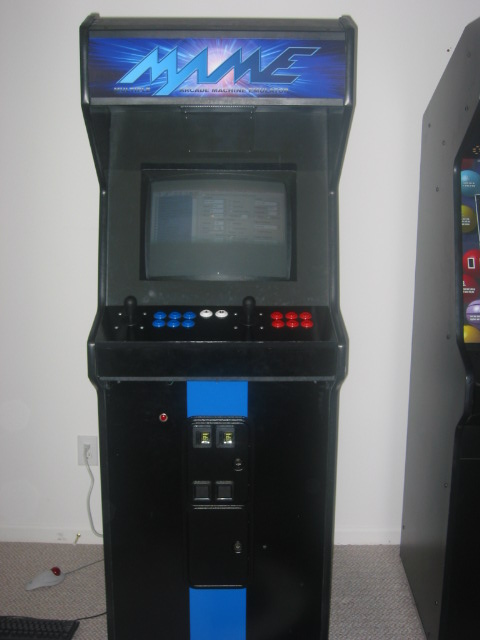
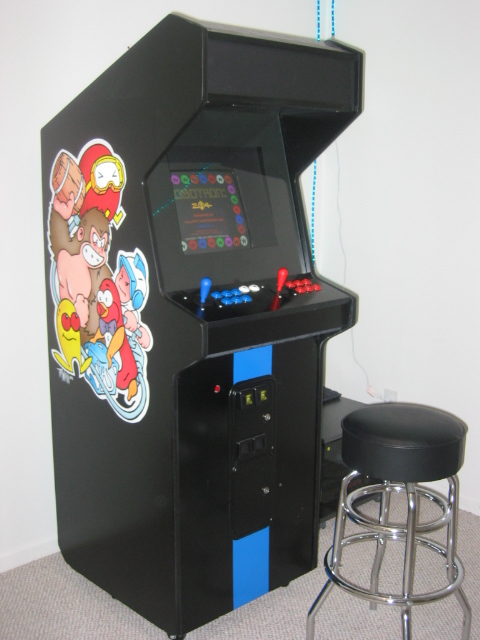
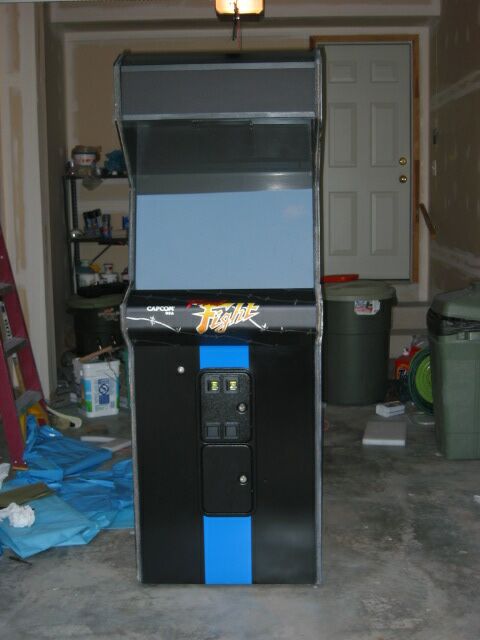
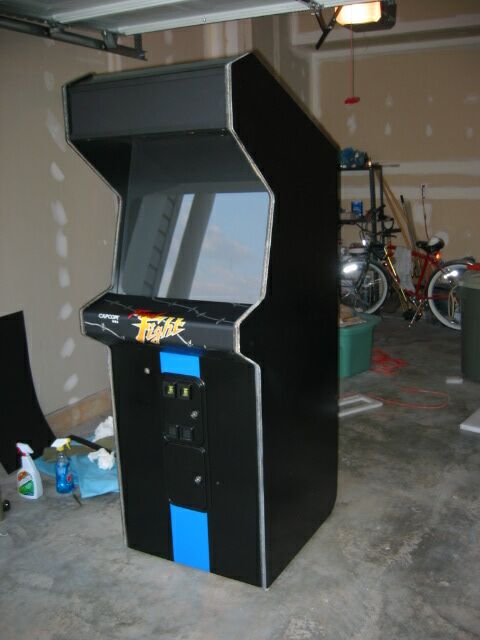
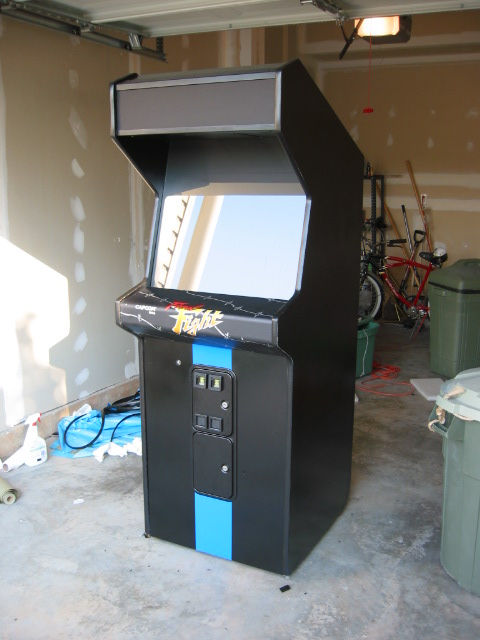
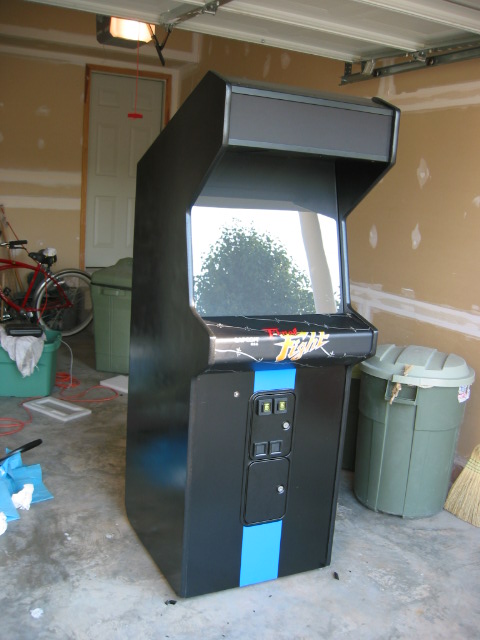
Finished!!! (without side art)
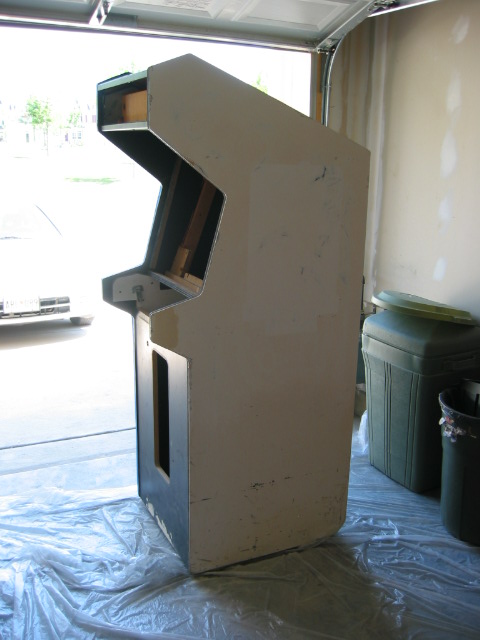
From the beginning!
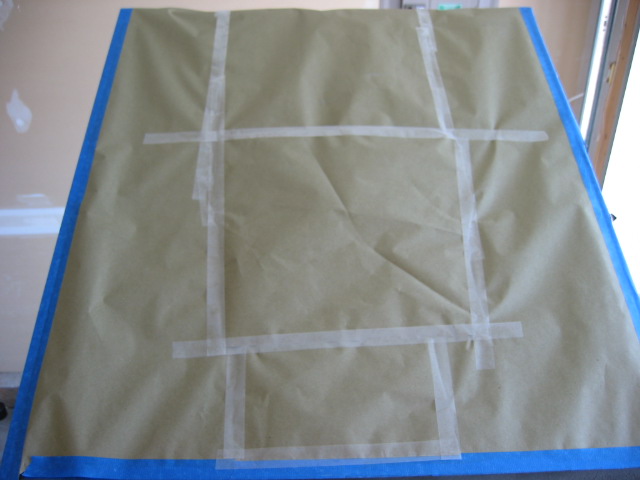
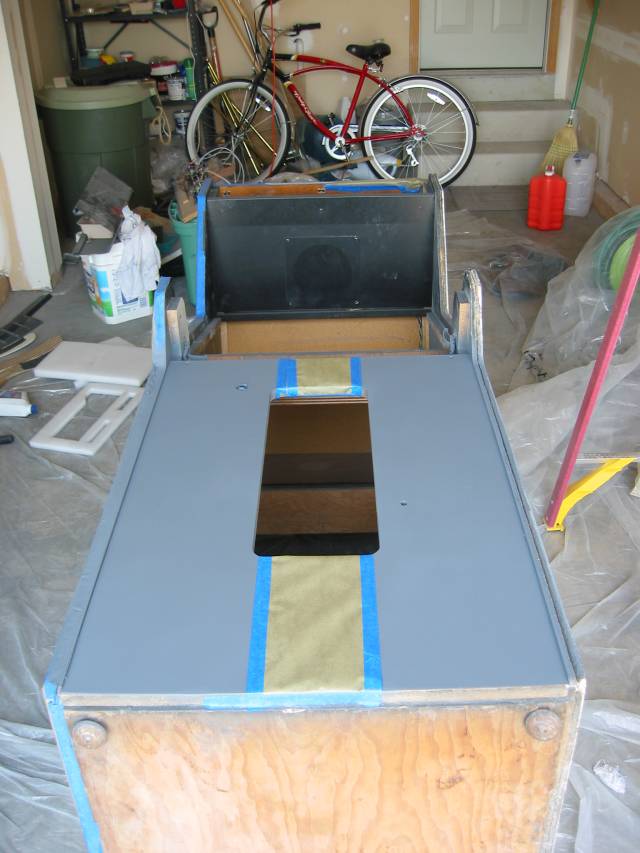
This side is all taped up with masking paper since I just painted it
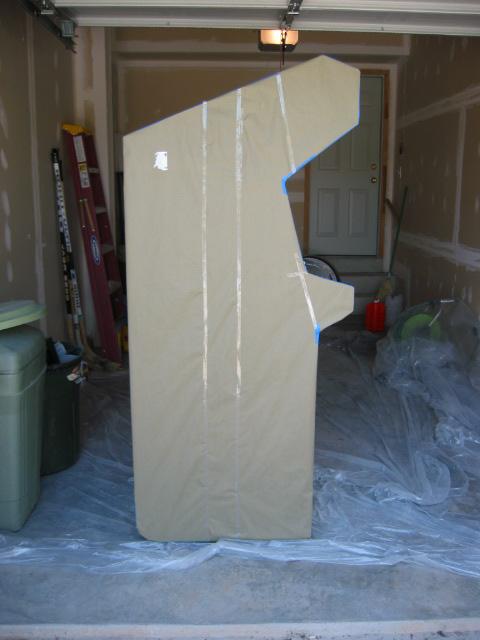
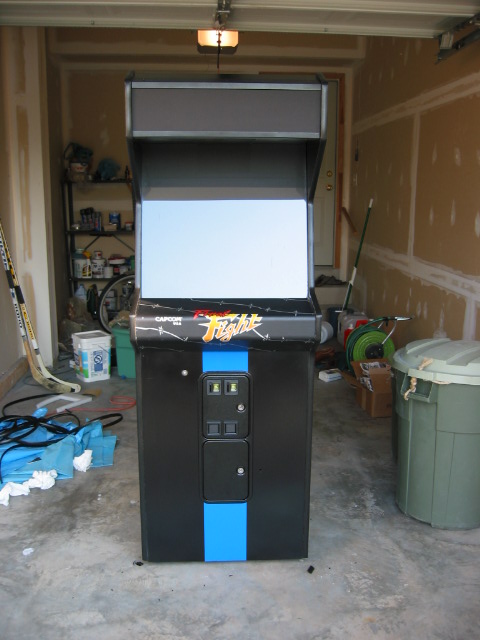
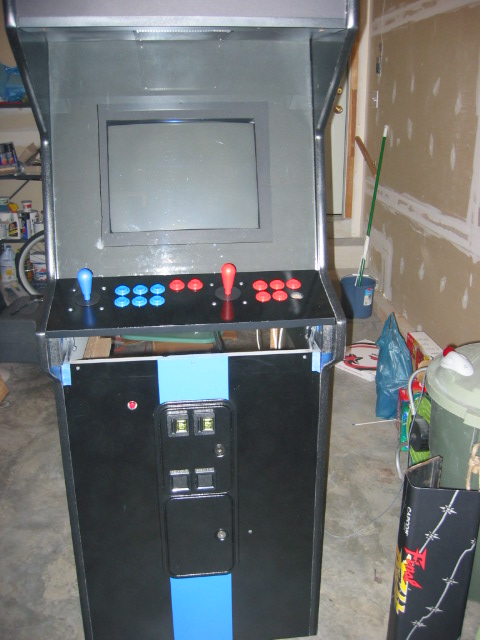
Front view
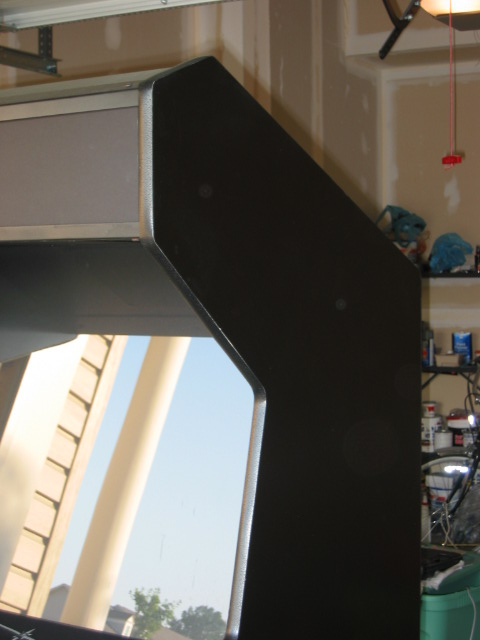
Top front view
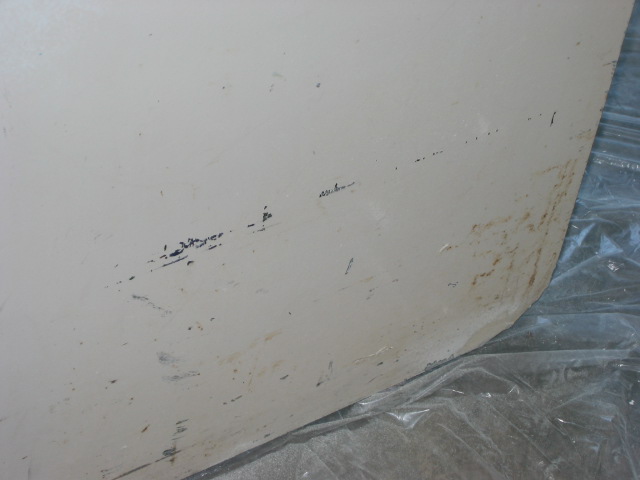
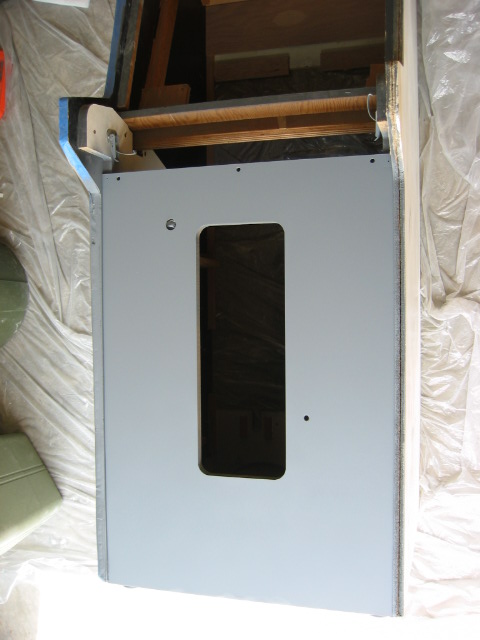
View of side which isn't sanded or painted yet
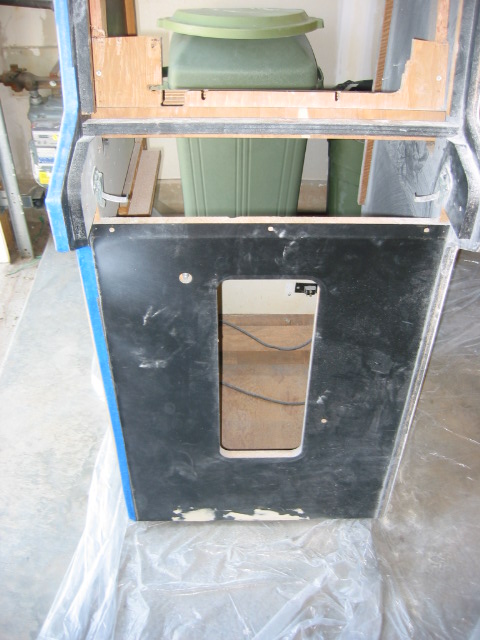
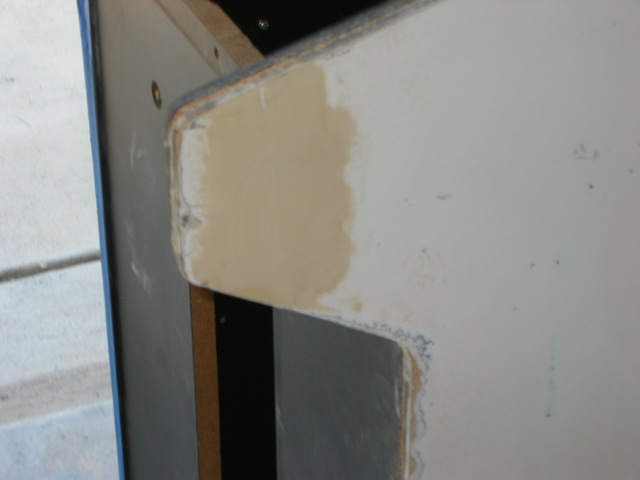
This used to be a big hole where the wood was completely chipped out.
I filled it with paint filler and it should look better once sanded
primed and sanded some more :)
Botoom side
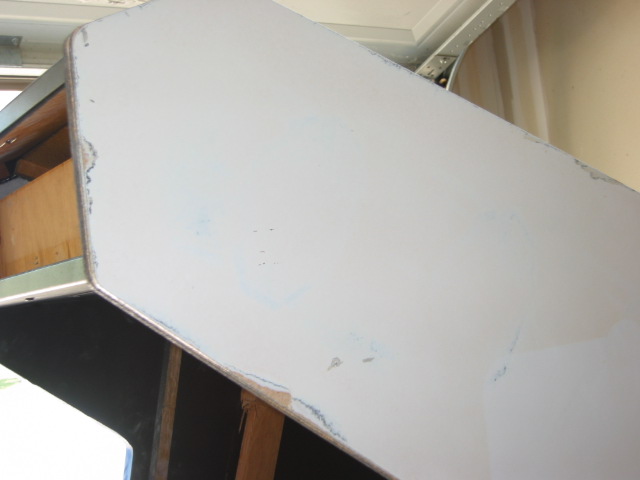
Top of unpainted side... it's been sanded a bit
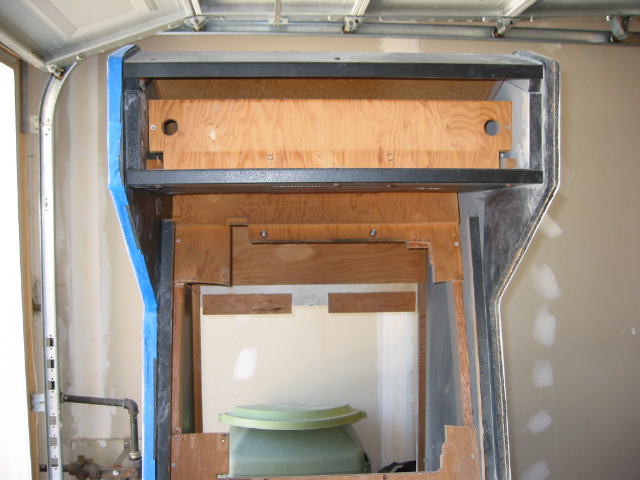
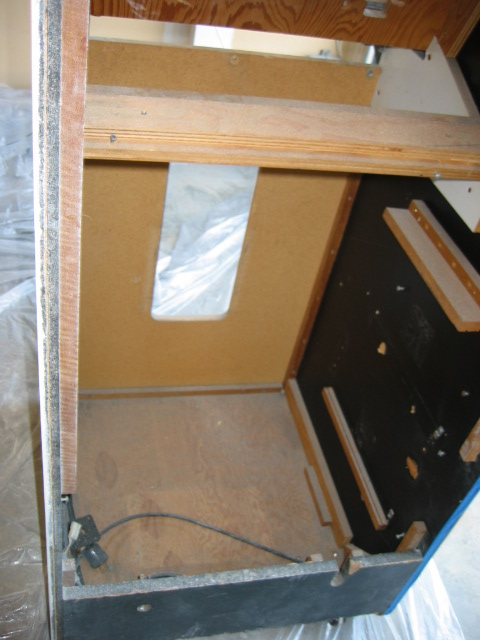
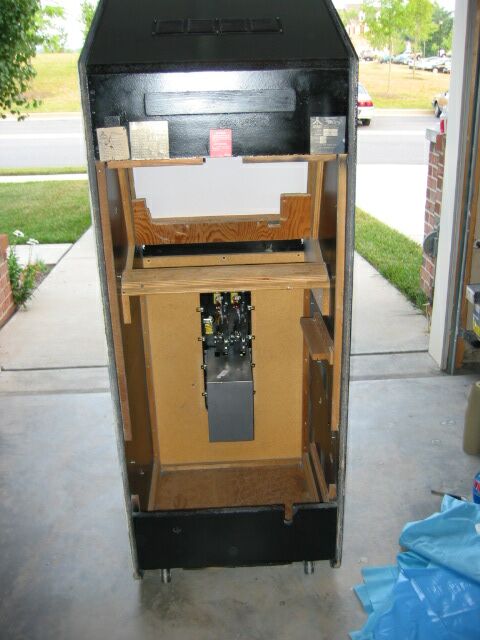
Inside the case... I've removed everything
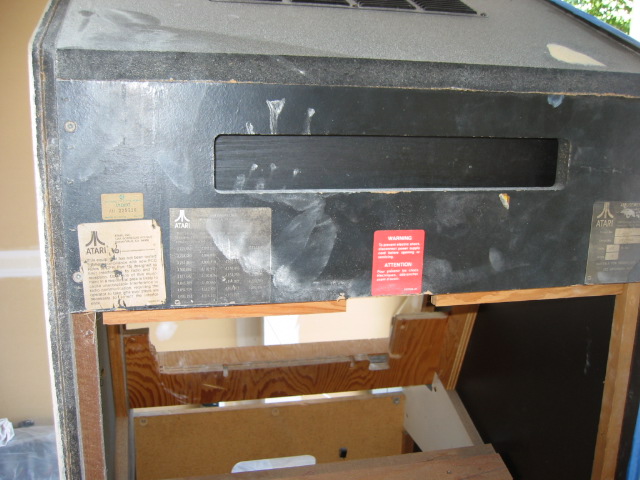
Top of back... it once was a dig dug judging by the paint
scheme that had been painted over a bunch of times.
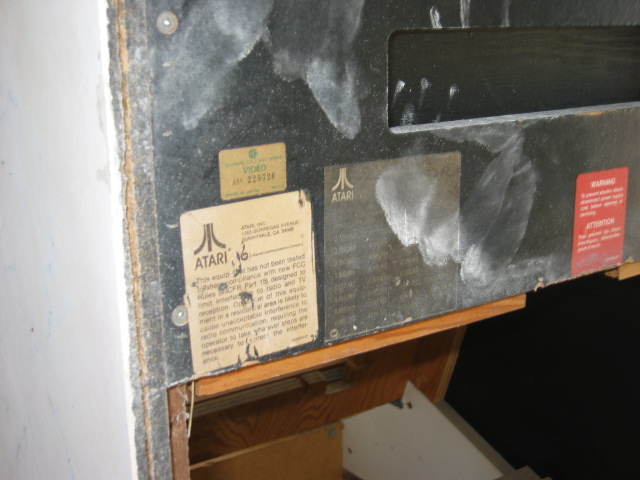
More top of back
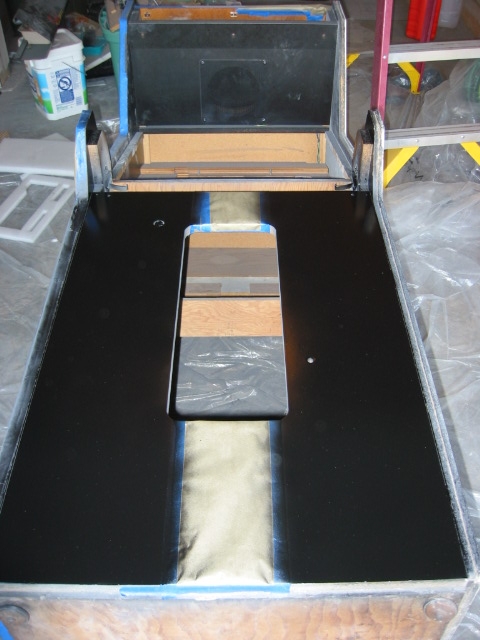
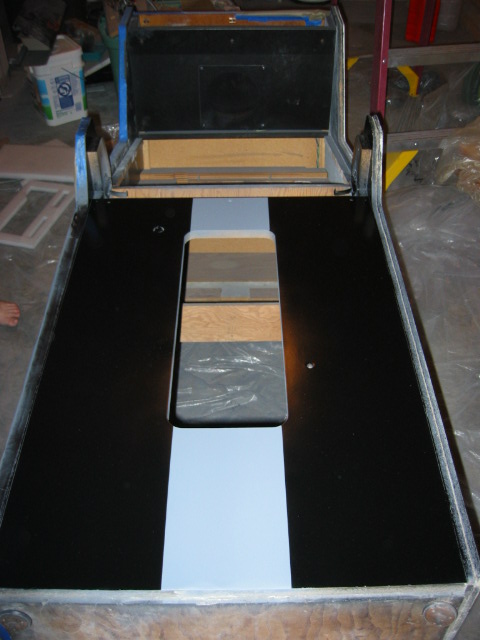
Top of case papered up since just painted, it's black, underneath probably repaint to a flat gray instead
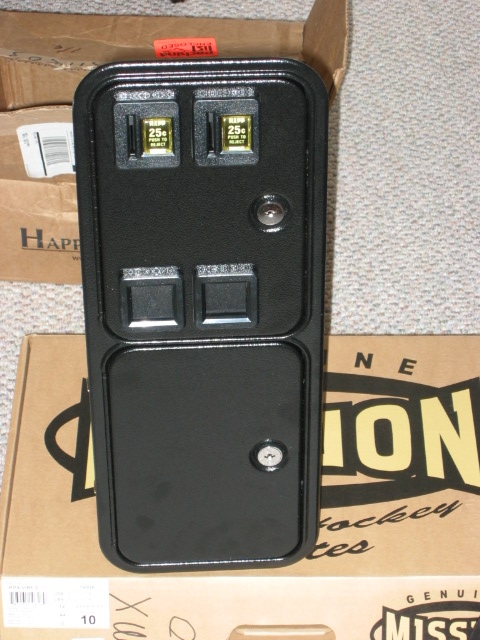
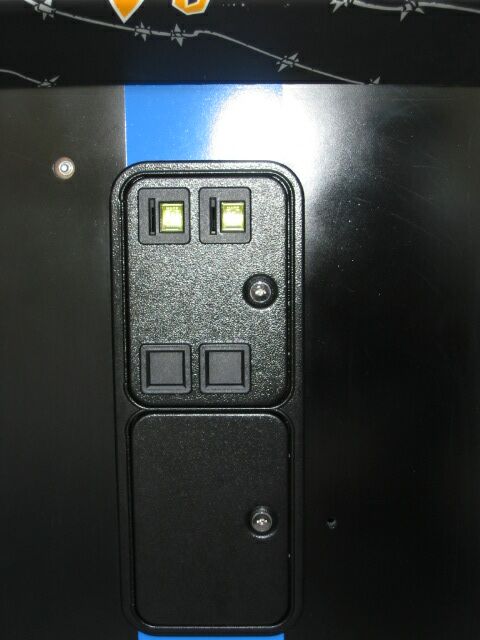
Front view of the coinslot (from happcontrols.com)
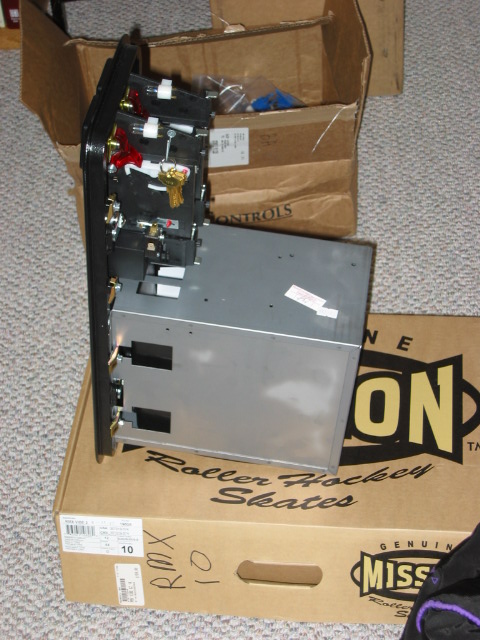
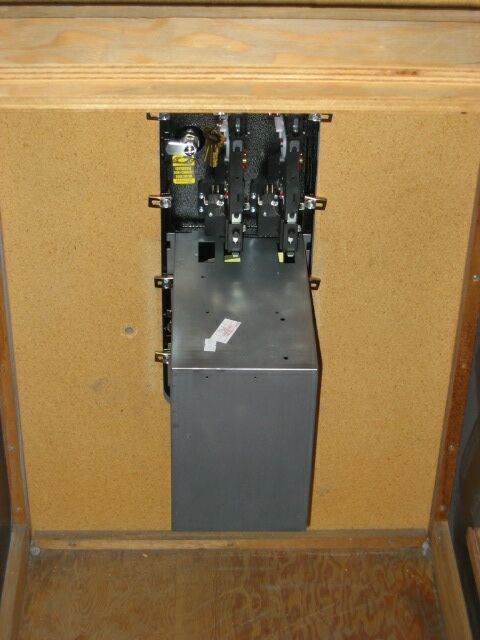
Side view of the coinslots (From happcontrols.com>
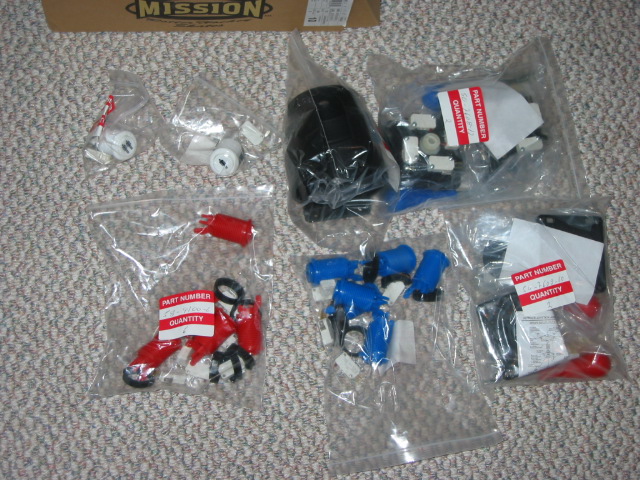
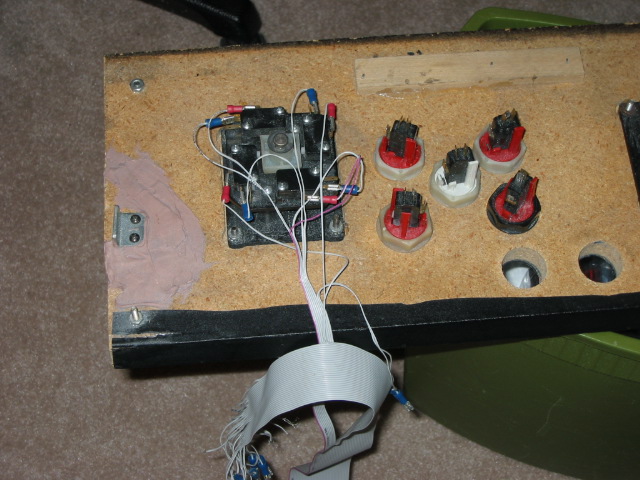
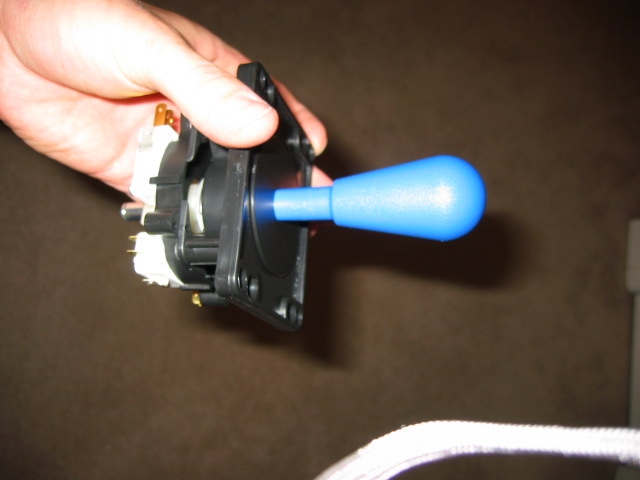
Buttons, joysticks and other assorted goodies
Front view after being sanded and primed
Front view papered up for a stripe down the center
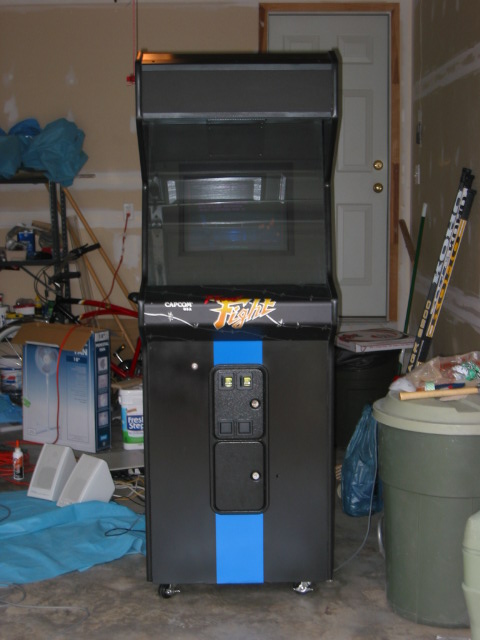
Front view after being painted black still covered up the center
Front view after being painted with primer showing

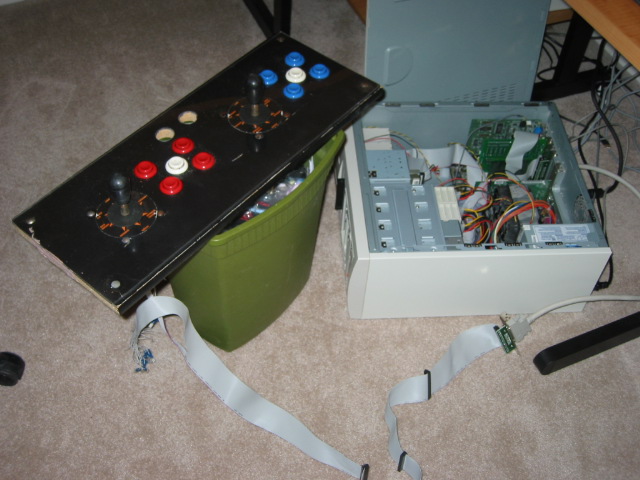
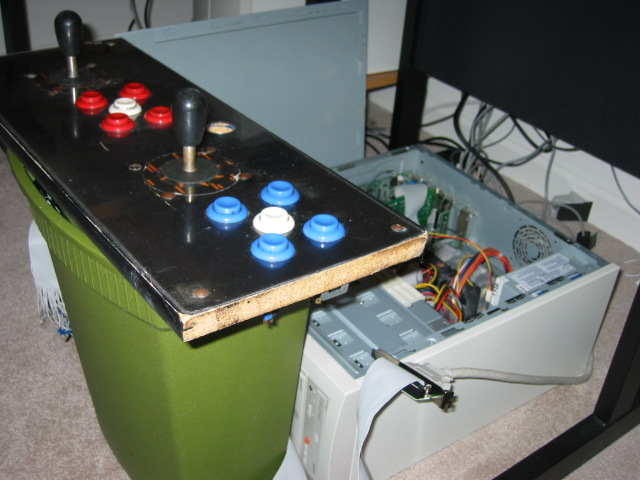
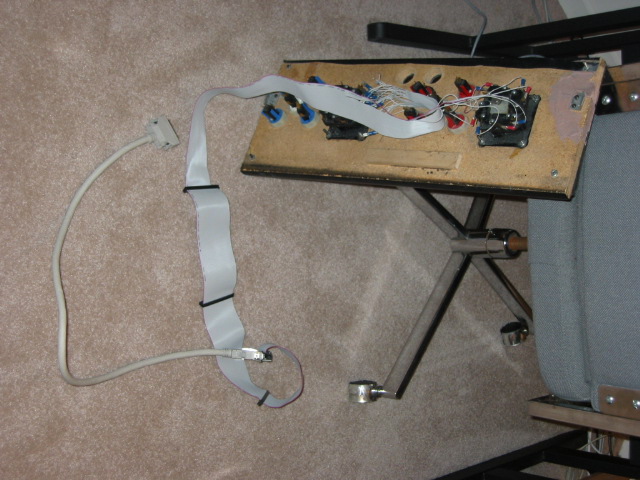
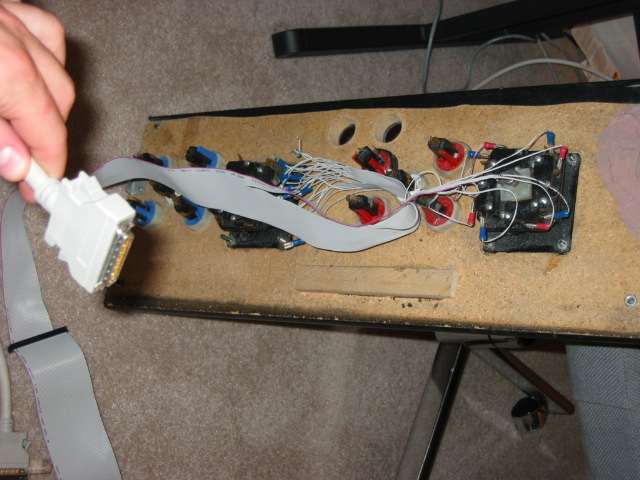
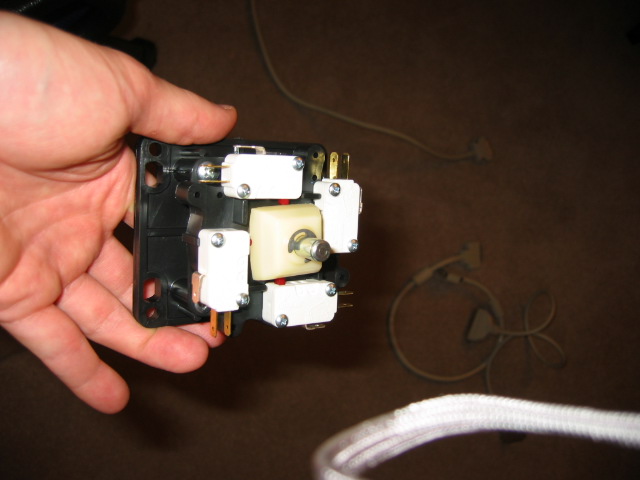
OK here's pictures of my work on the prototype controller.
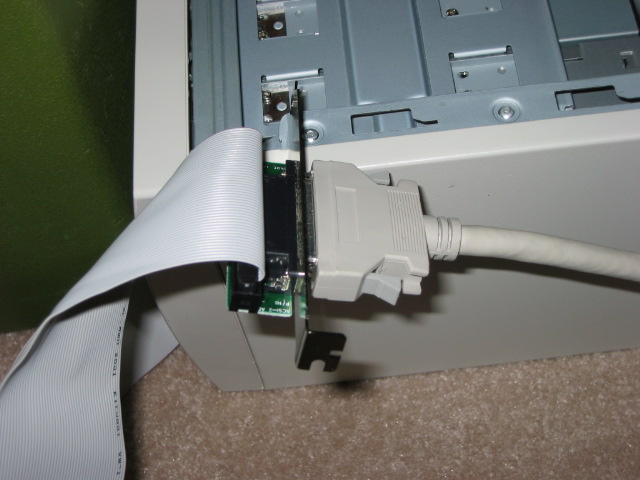
Note the controller card (in the PC, if you follow the SCSI card back to the PCI slot, then follow the internal SCSI cable back to the 40pin connector) and the SCSI (I don't use the SCSI protocol
just used the conntectors to I could attach it to a SCSI cable so there's not wires hanging out everywhere, and I can easily connect and disconnect controllers ) will be in the final machine. I'll have
more than one controller, as I'm going to build two controller panels, one for dual player joystick games, and one for single player trackball games. This way I can easily connect and disconnect them.
The joystick and buttons will be replaced by new ones mounted on a correctly sized control panel, in the real machine.
(this is just a joystick and buttons I already had hookedup and mounted on a piece of wood that I used to test the setup)

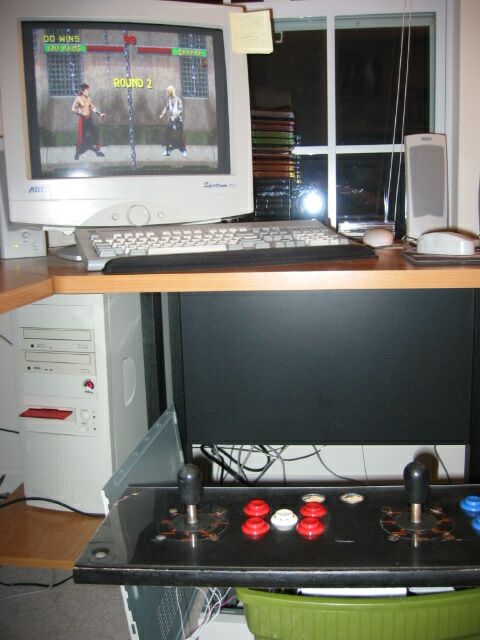
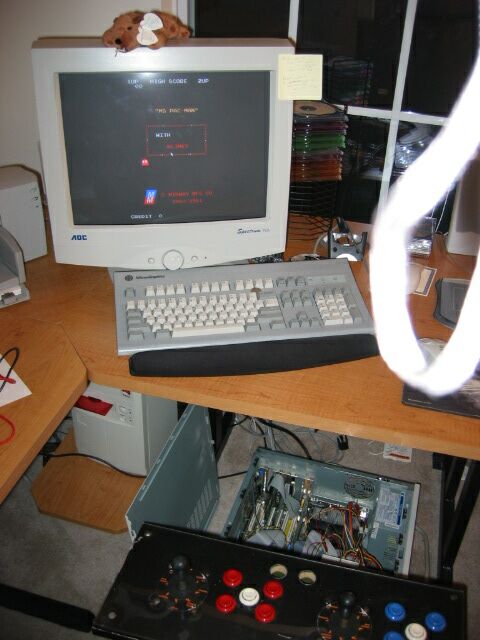
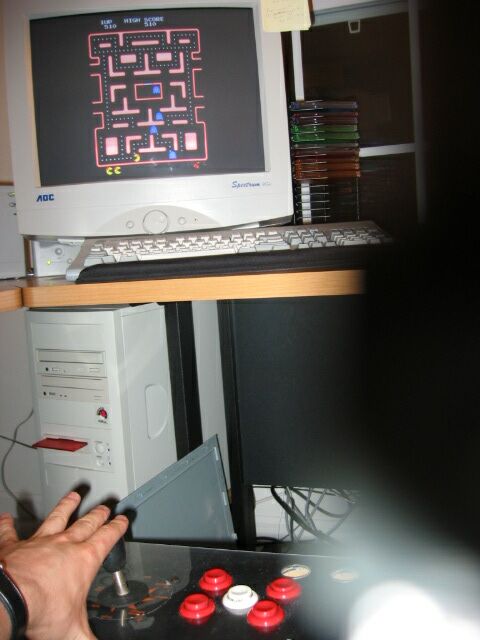
Ahh, MS pacman, first time in like 20 years I played MS. Pacman with a real joystick. (Ok I think I played in once or twice in the last 20 years, whenever I found a MS. Pacman at an arcade I would play it)

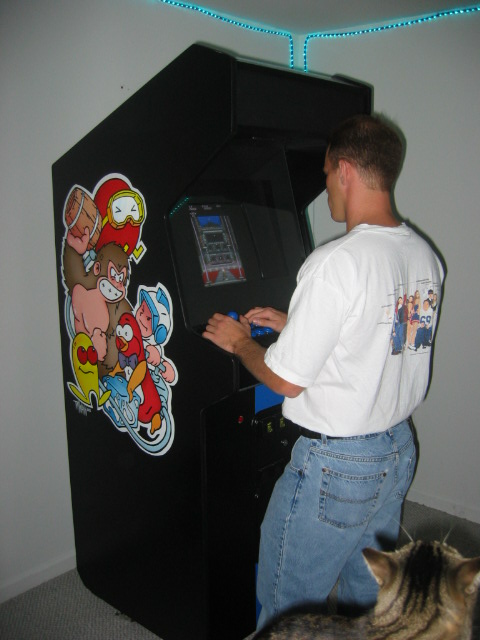
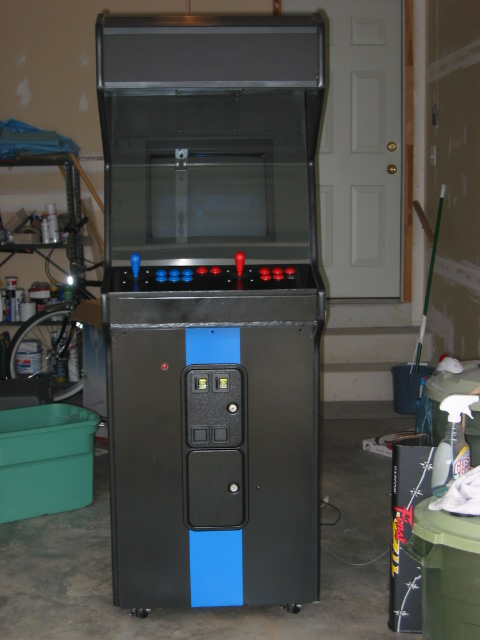
Here's the cabinet with side moulding (T-molding) installed
all that's left is the side art work, the marque artwork and the
controllers (joysticks and buttons) not to mention physically hooking
the internal parts up)
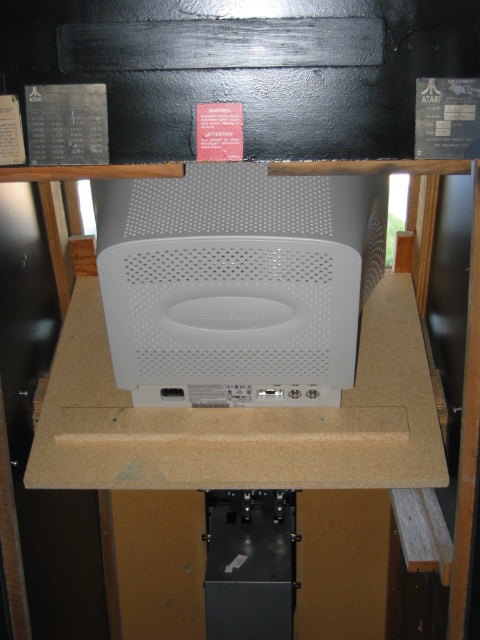
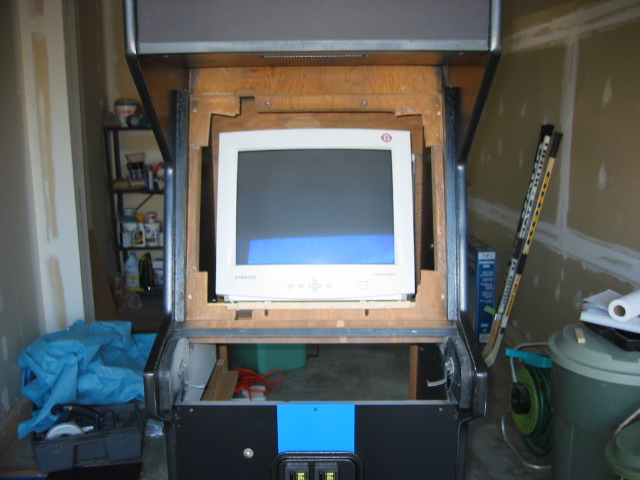
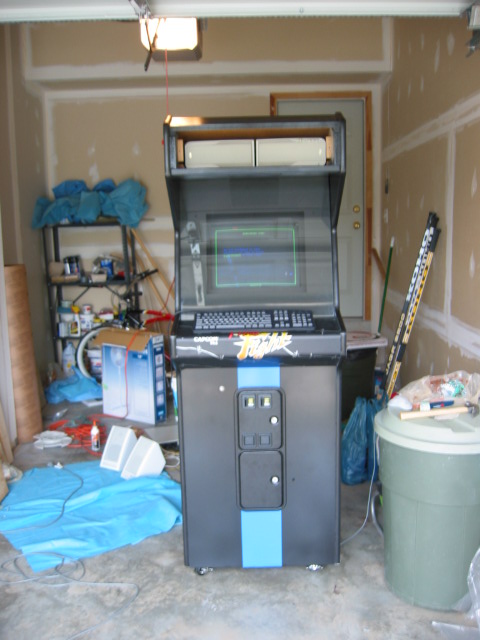
Ok got the monitor mounted... only problem is
my 21" was too big :( :( :( so I had to use a 19"
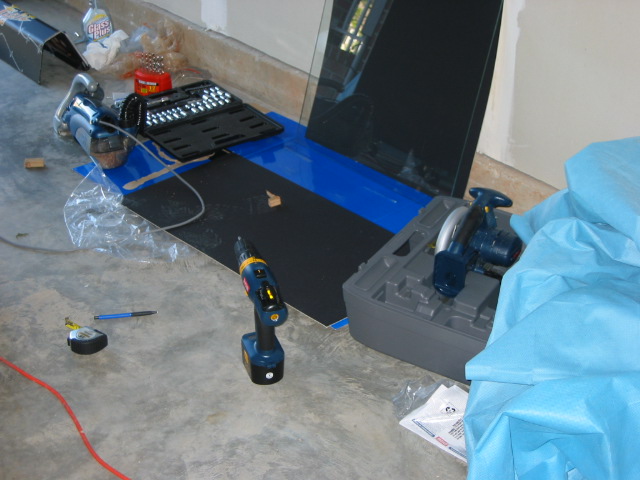
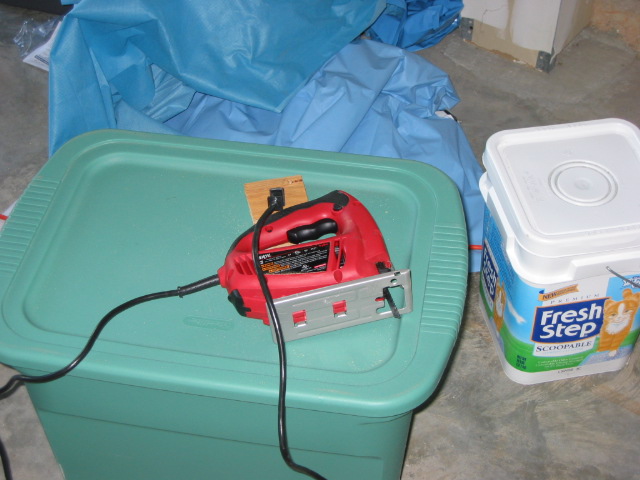
Ahh.. power tools!
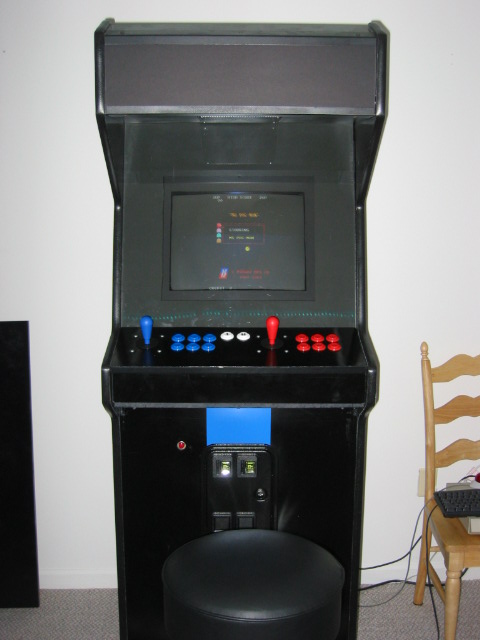
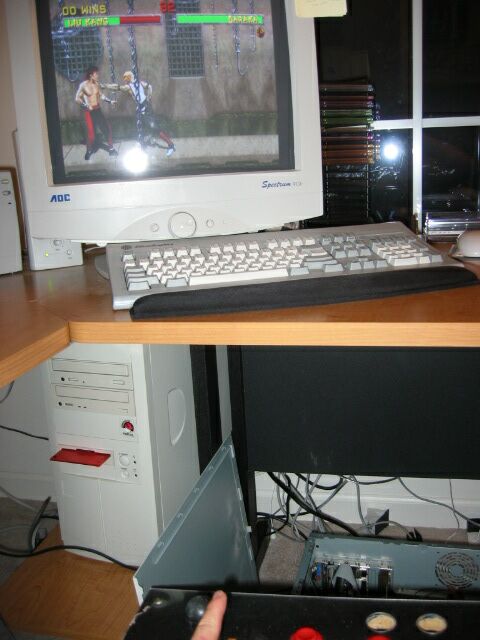
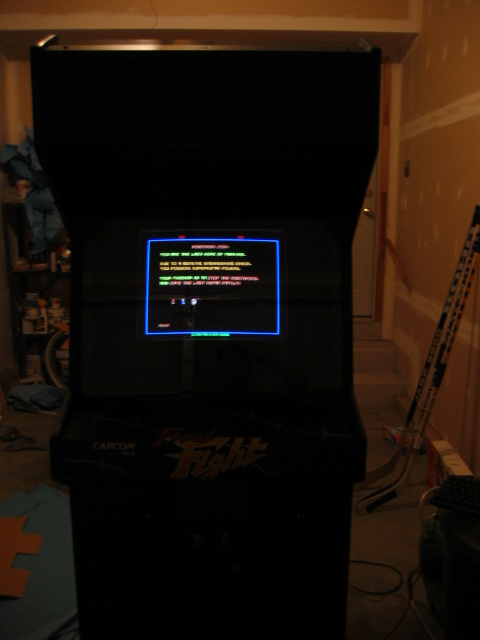
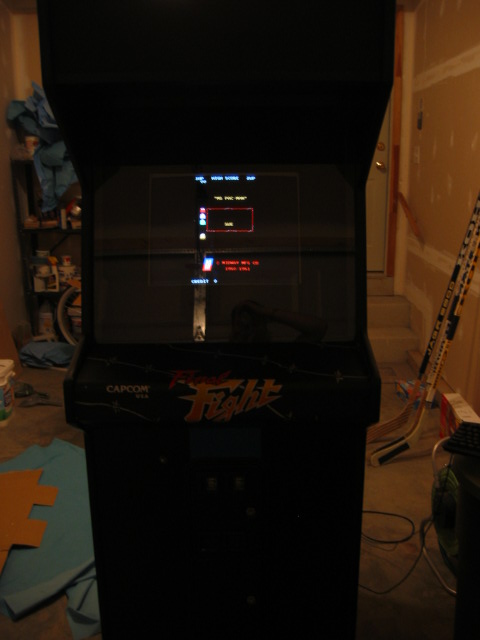
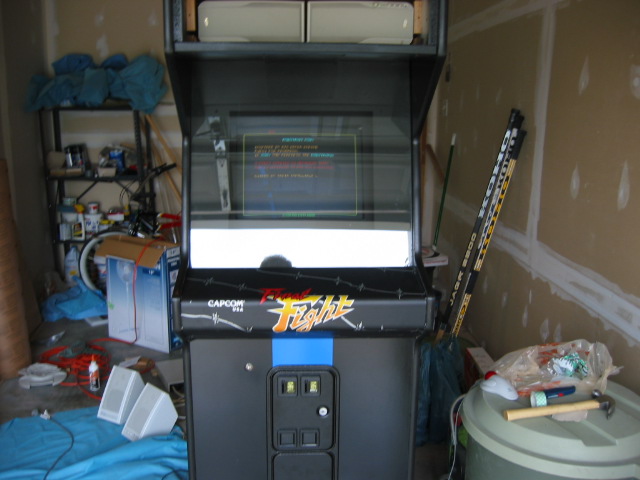
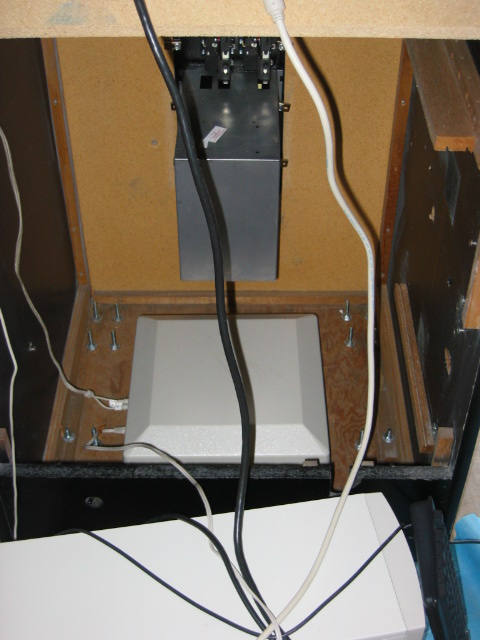
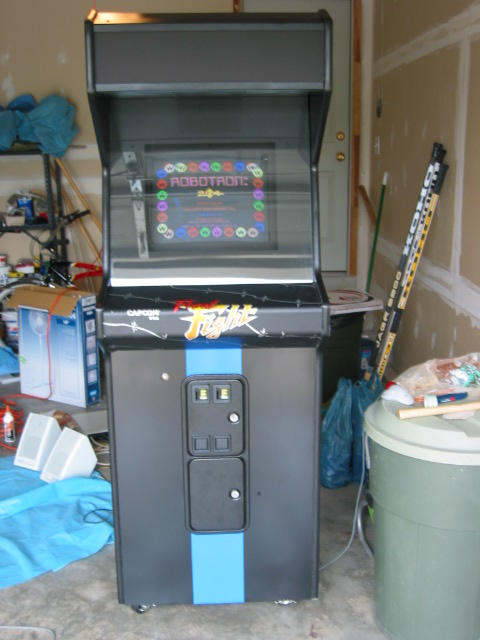
Finally some games. (Though I need to add some bezel to cover up some wood ect inside th case)
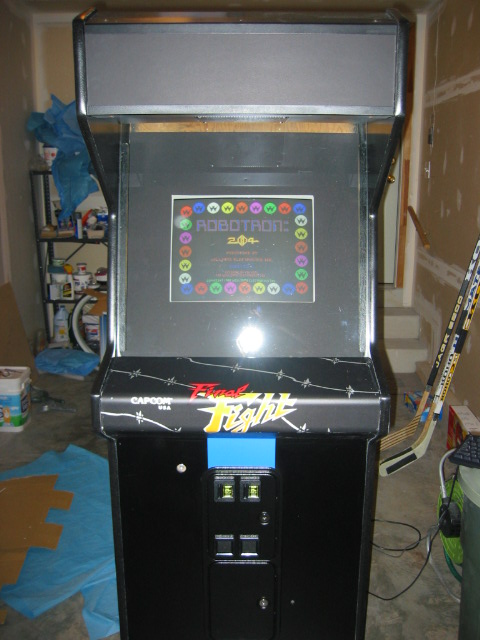
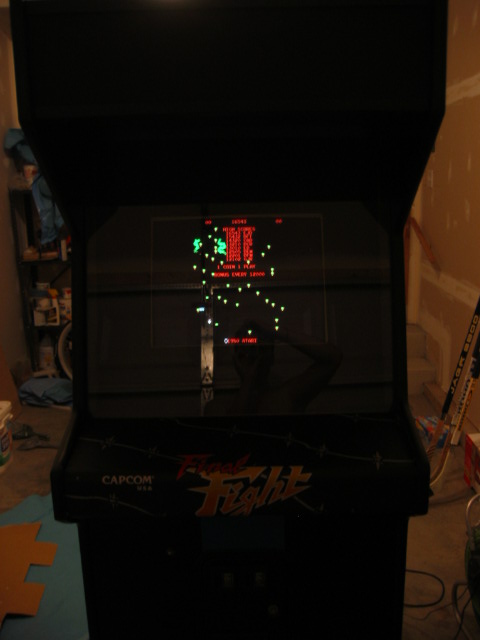
note the speakers up top
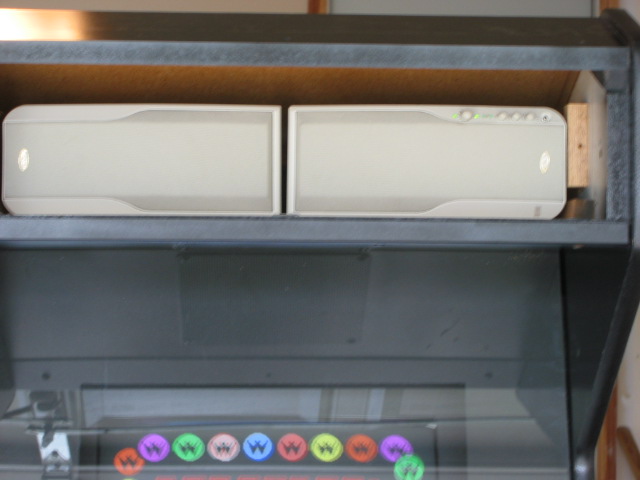
Subwoofer
Ahh... Robotron (yes to any corporate wanker types who'd rather watch these games sit in a trash closet rather than have people who love them play them...) I own the rights to the ROMS, I"ve bought like every "classics" compilition that runs through emulation at the stores for whatever platform I can find them, so I own the rights to use robotron ROMs. anyway... back to pictures

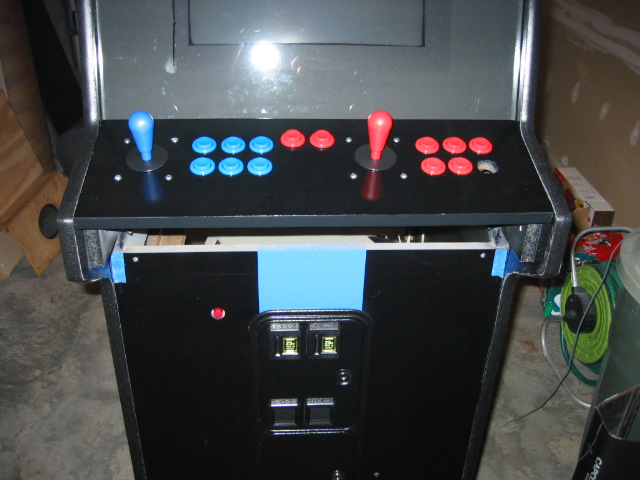
Controllers up and operational (at least all off them
but the right hand buttons which I didn't connect yet)
I'll put black formica on top of the controller panel when it's finished.
I need to put the wood face and bottom underneath the controllers too.
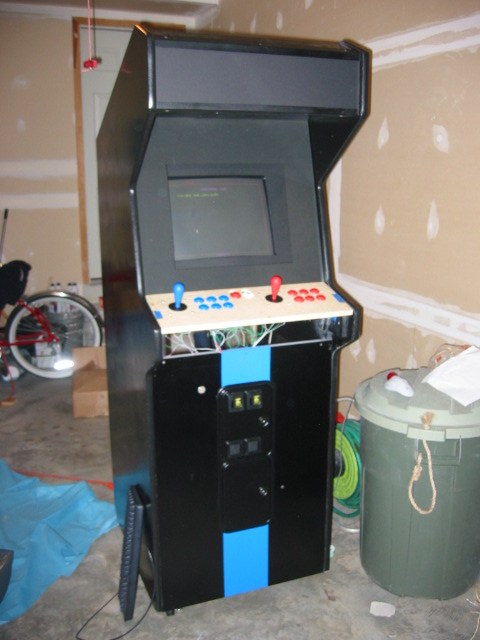
Playing a little Robotron (dual joysticks!)

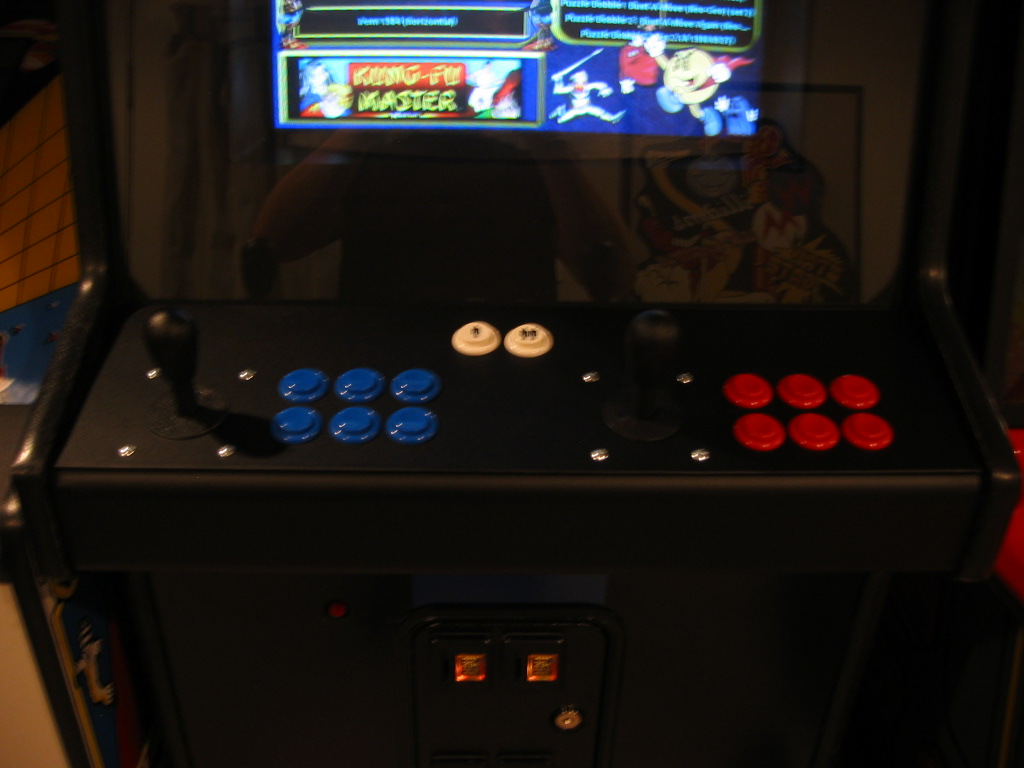
Ok controllers are almost finished.
(missing a right red button and I don't have the 1 and 2 player buttons put
in. (red ones there temporarilly)
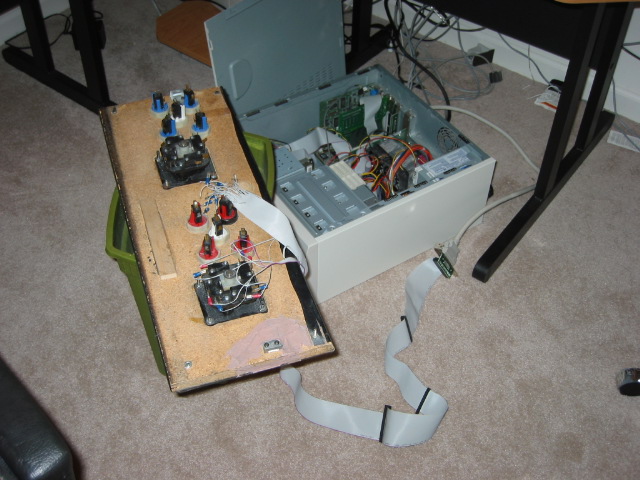
Controller box mounted
September 15 2009
Changed my control panel to re-use the original control panel
My kitty snuggles
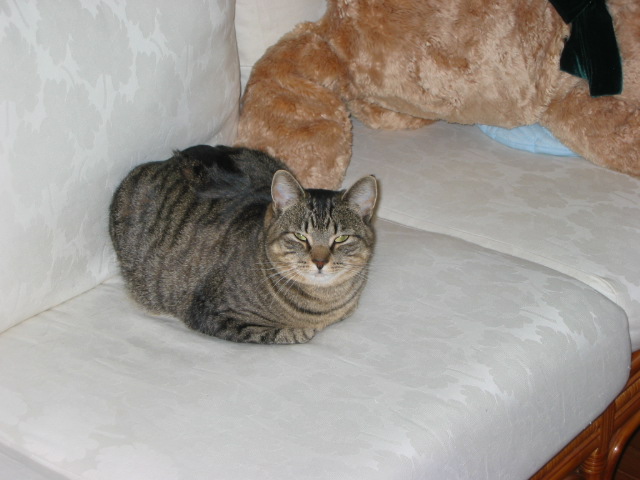
Another picture of snuggles
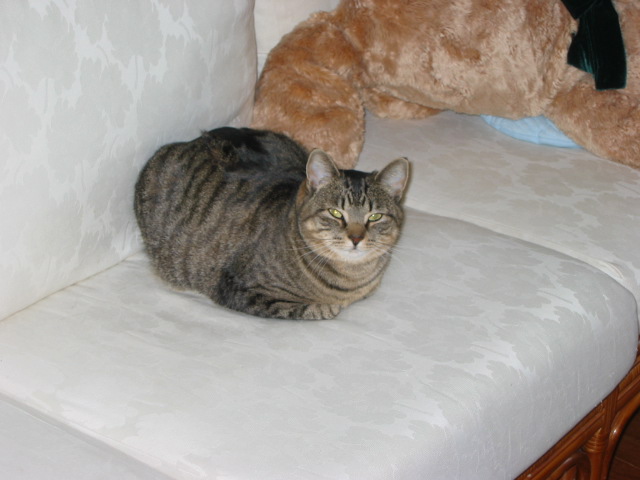
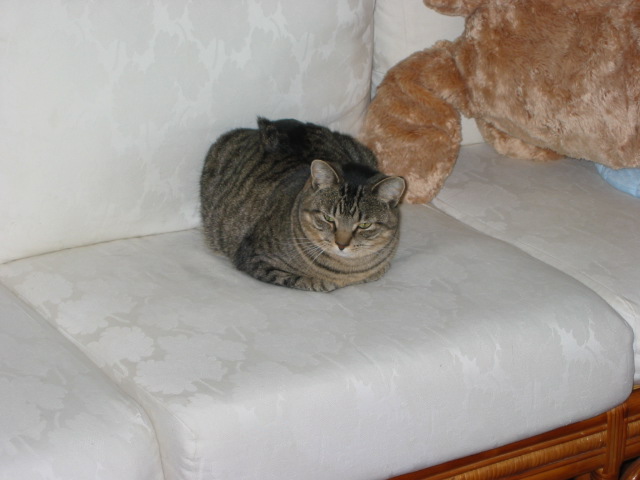
Snuggles
Precious
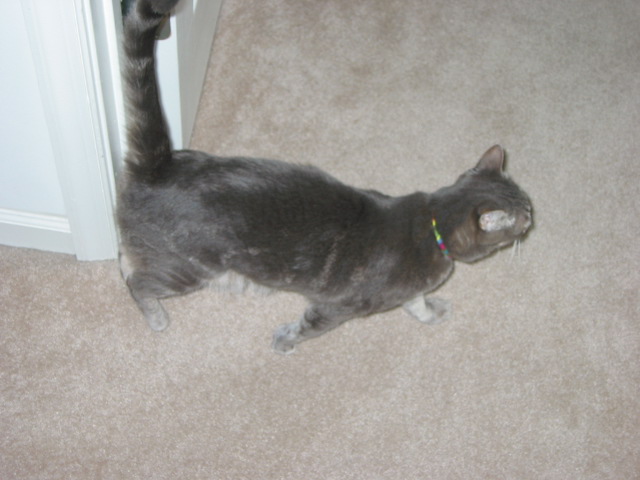
Precious
Precious