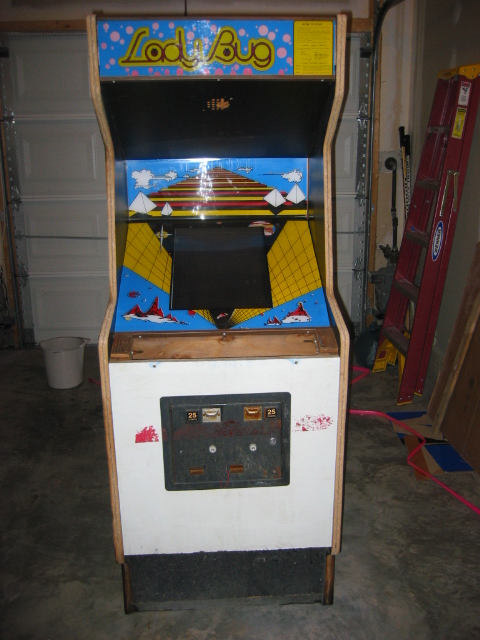
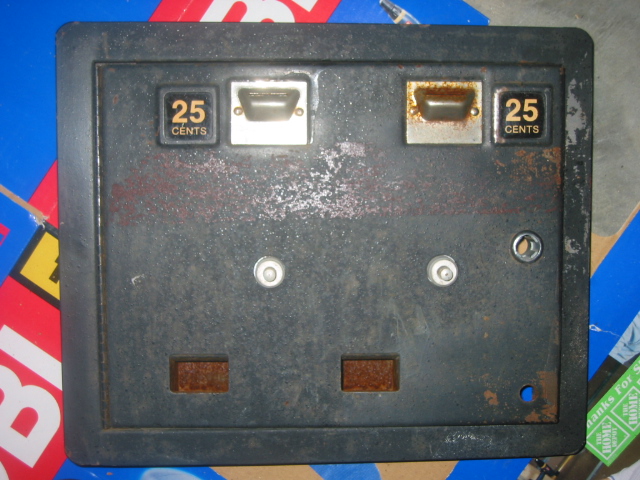
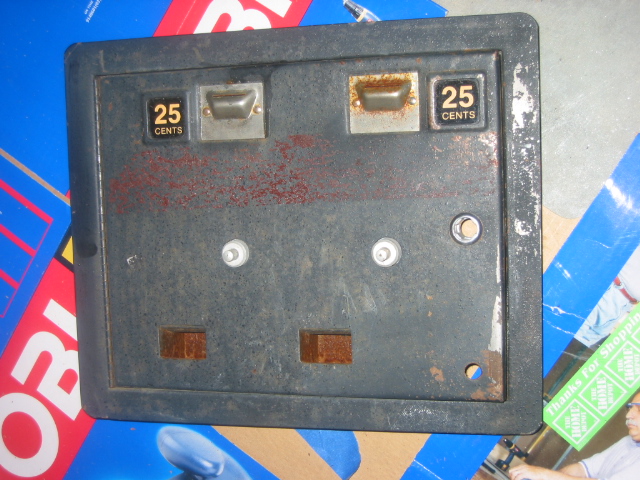
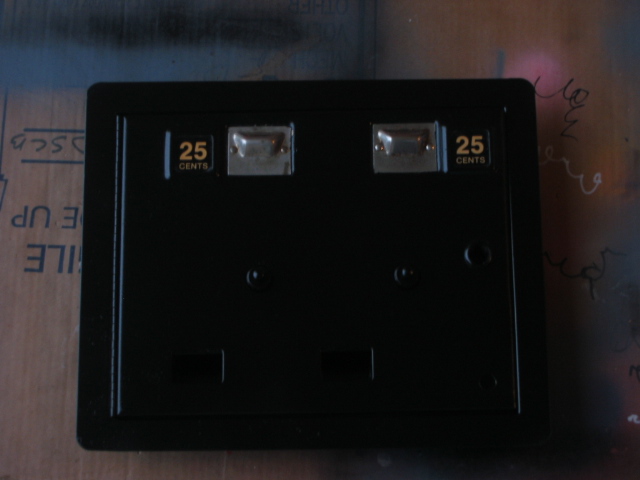
Ok so the coin slots are pretty rusted and even painted over with a stripe.
You can't find (at least I can find) this type of front slot anymore
so I want to do everything I can to restore it. except for the rust
the panel is in good condition (no big visible dents ect).
the insides are missing the mechs... but I don't really care I'm not
going to use the slots on this one, I already have working slots on my first
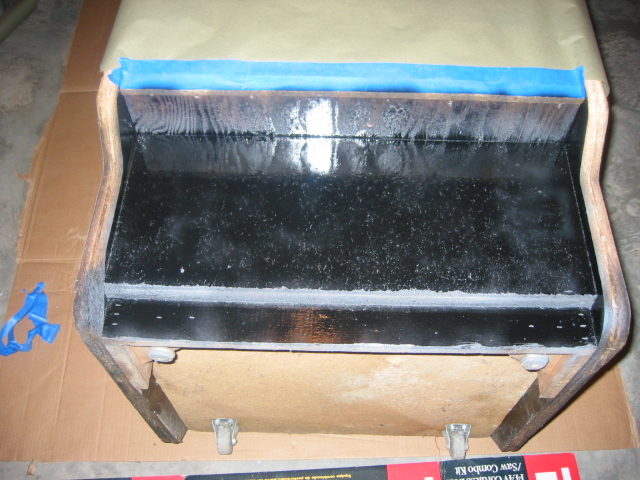
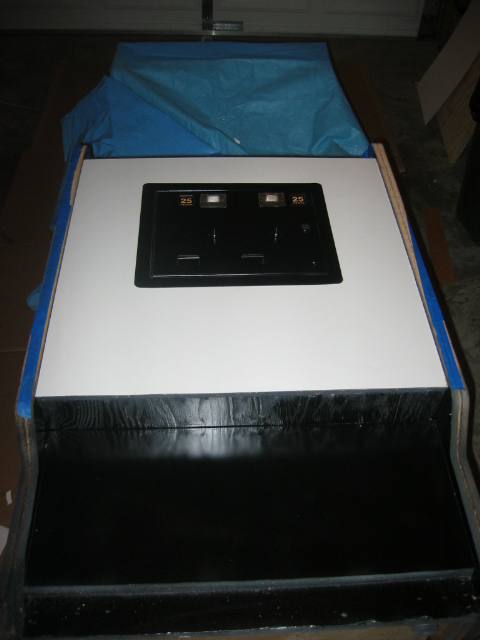
one! But I DO want to make the slots look like new! Here's the rusted
out panel before...
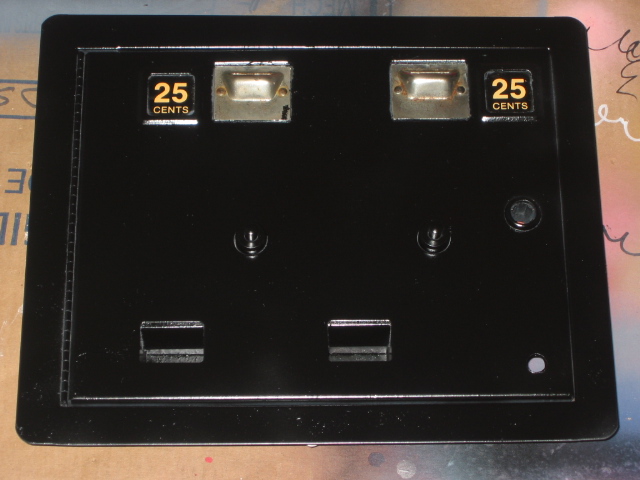
Now I've taken the steel wool to it and primed it (covering up the silver slots and the 25 cent markers with painters tape)
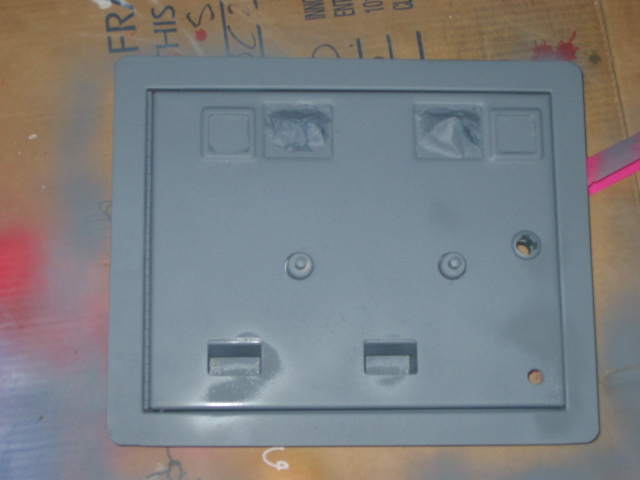
Ahh this looks MUCH better
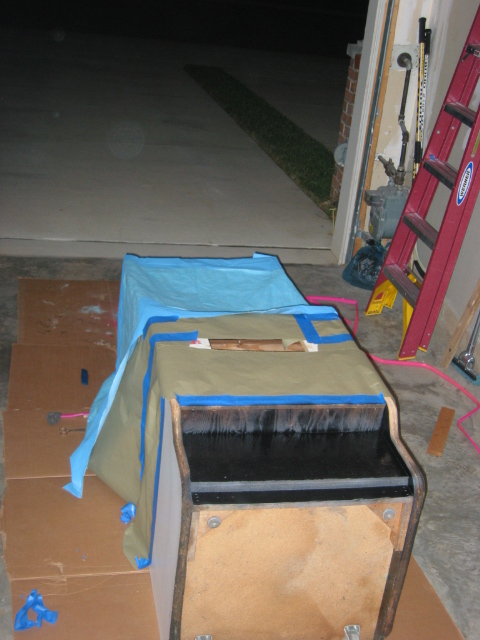
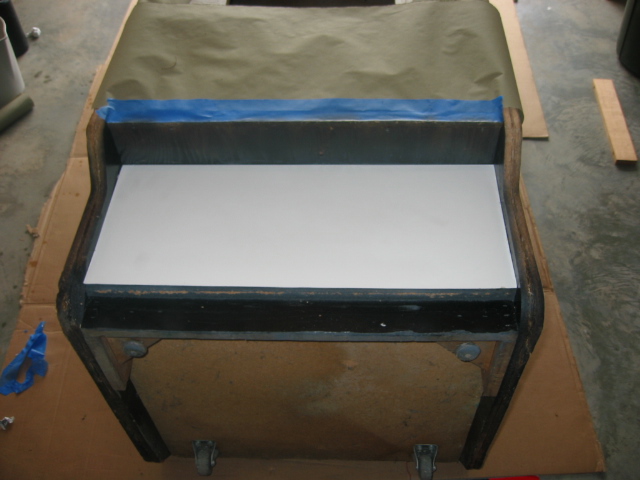
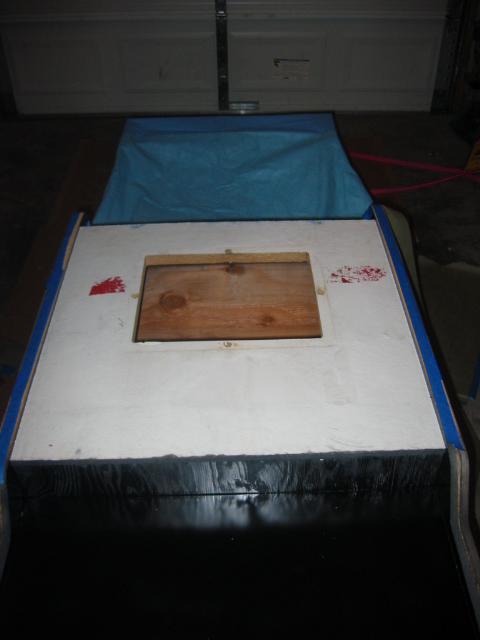
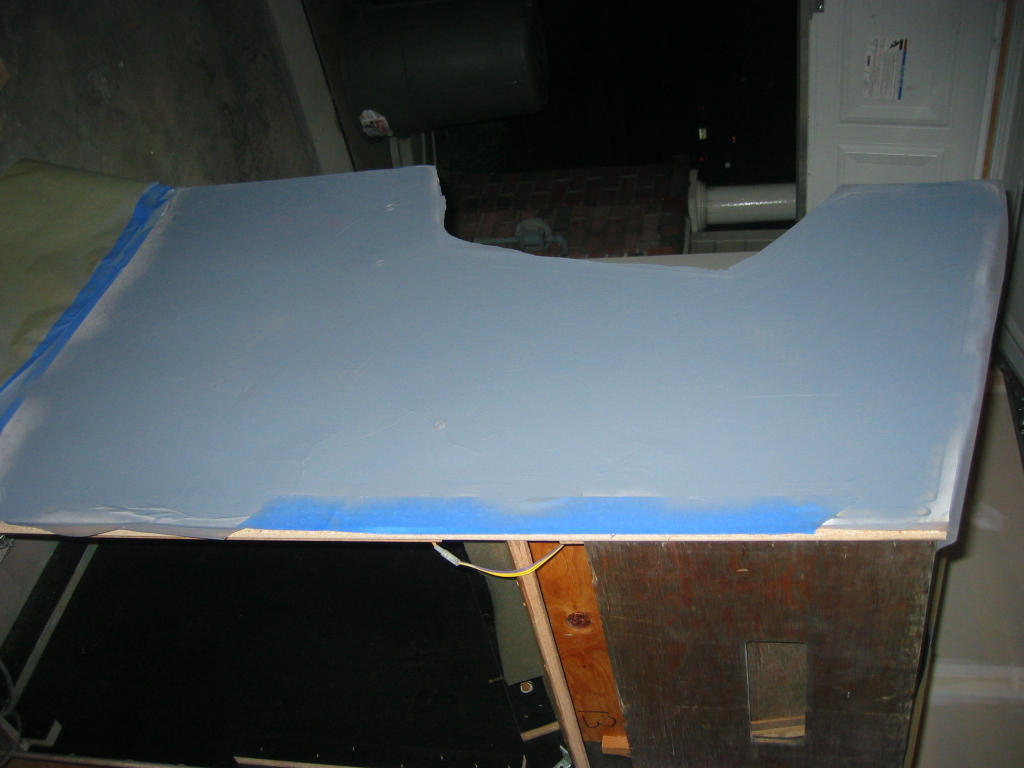
ok covered up the parts, experimenting with the particle board.
The front white particle board is in decent condition, might be ok if I used
a white flat paint on it. The bottom part (Black) the particle board is
pretty darn bubbled up from age or probably moisture. I don't want to replace it since it's actually very sturdy still, and this cabinet wasn't made to be disassemled like my dig dug was. (it's pretty much nailed and stapled and scrwed together, with every joint being out of reach) I could prime it
and paint it flat black since it's so low to the ground and won't reflect
light up... nobody would notice. But I've decided not to skimp on this.
after my prime and paint test on the bottom I've decided to cover the whole front (white and black parts) with a new sheet of formica or laminate. That should give it a really nice brand new look to it, it's worth the $10.00 for a 2x4 sheet of formica.
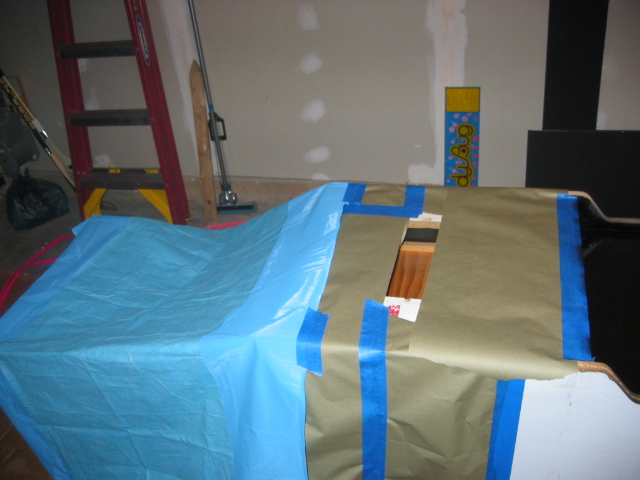
Note this picture is before the formica. you can't really see the bubbling
in this pciture, but trust me those white spots are where the particle board is not smooth anymore :(
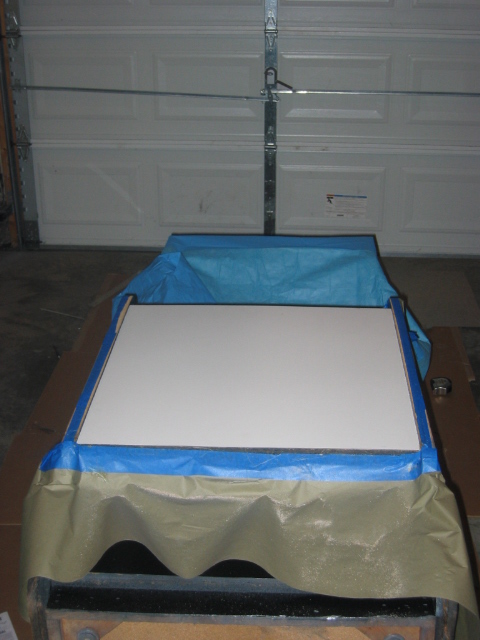
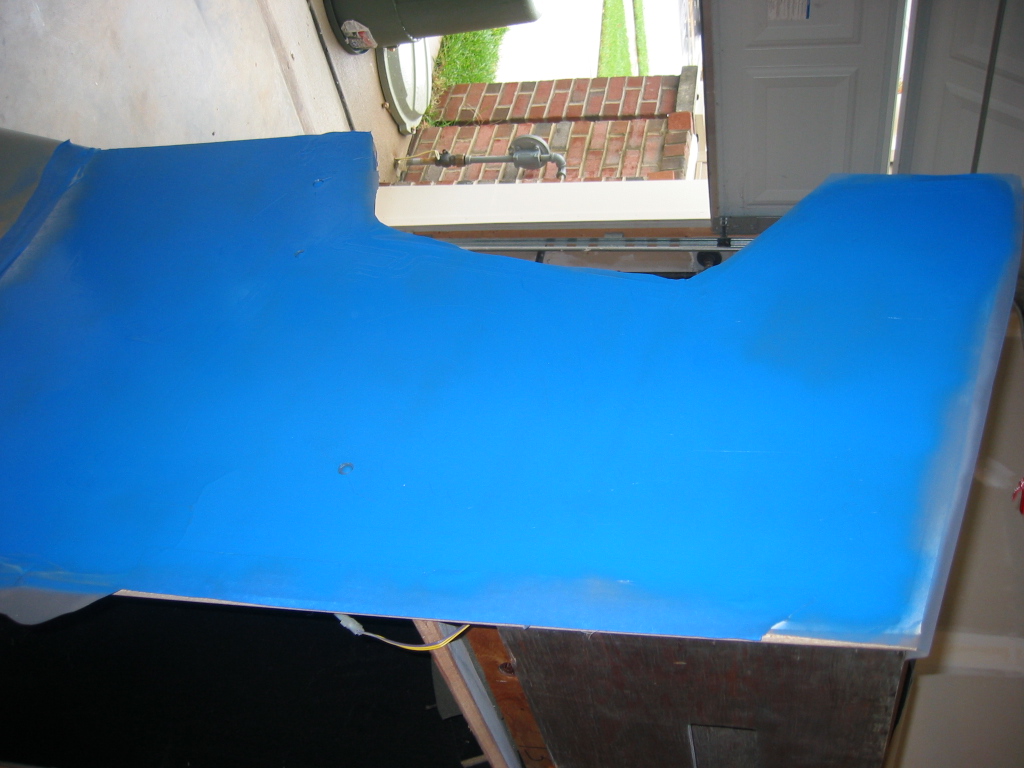
Ahh a little formica!
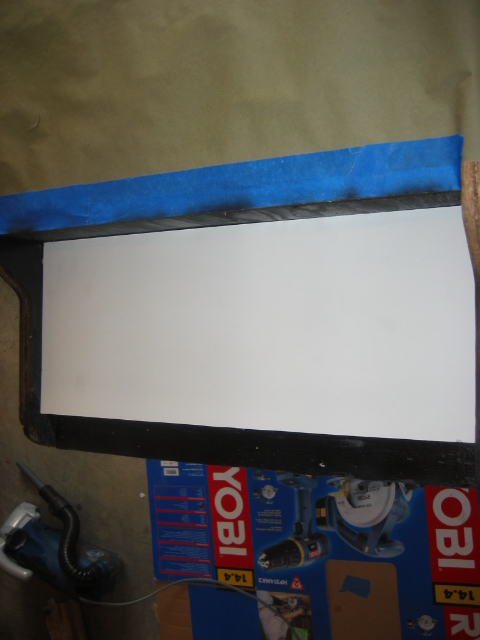
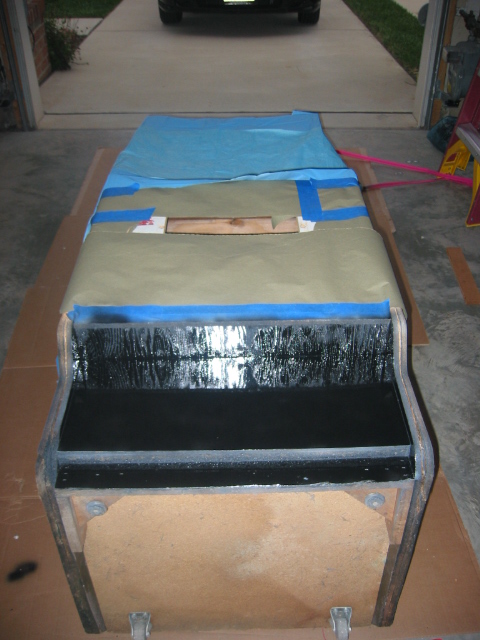
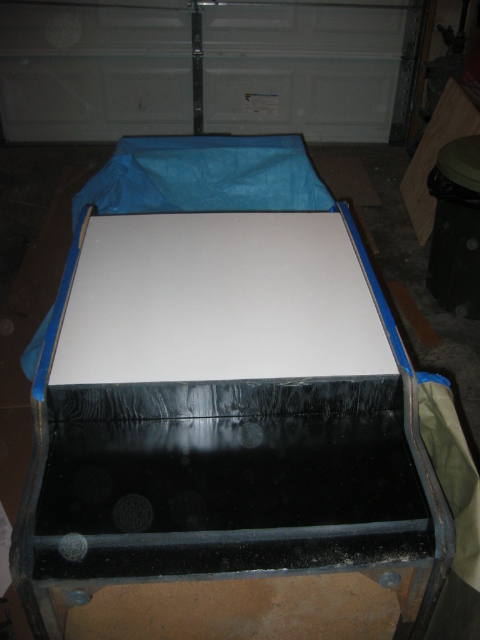
Formica painted black
Ok the front panel looks pretty junky by comparison next to the formica.

Ok some formica will make this look better (not worth sanding and painting this)expecially since the front get's alot of contact, formica will stand up to it.
and since it's already white, I don't even have to paint it!
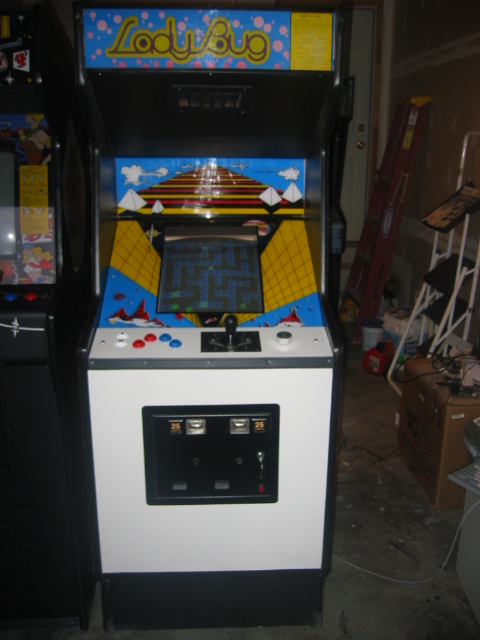
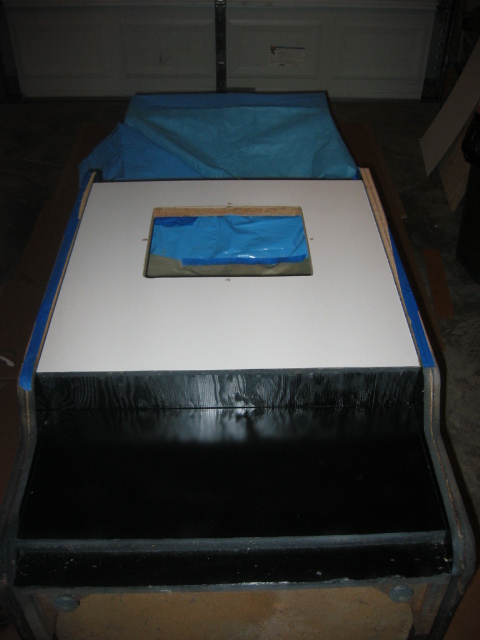
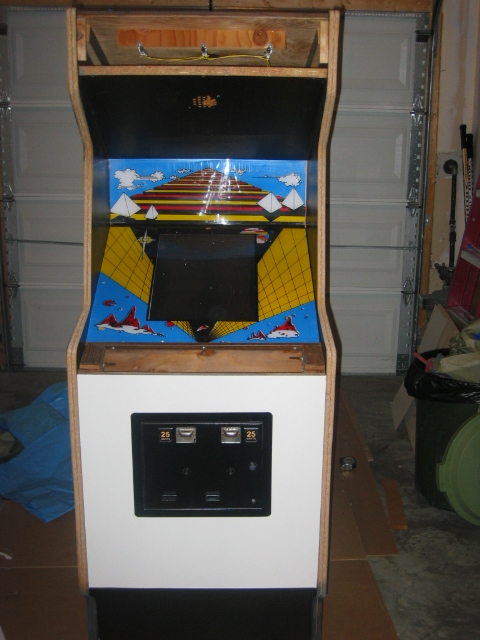
A hole in the formica for the coinslots (and small screw holes to screw it in)
ok put the coin slots in! This finishes the first 24 hours of work on it since I recieved it (not 24 hours straight, but the first day for work)
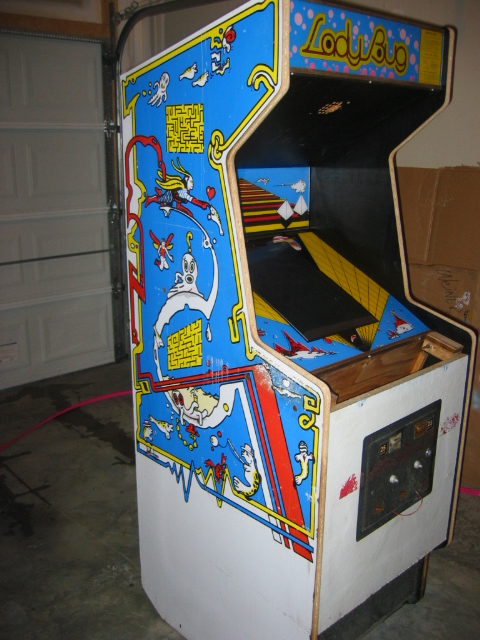
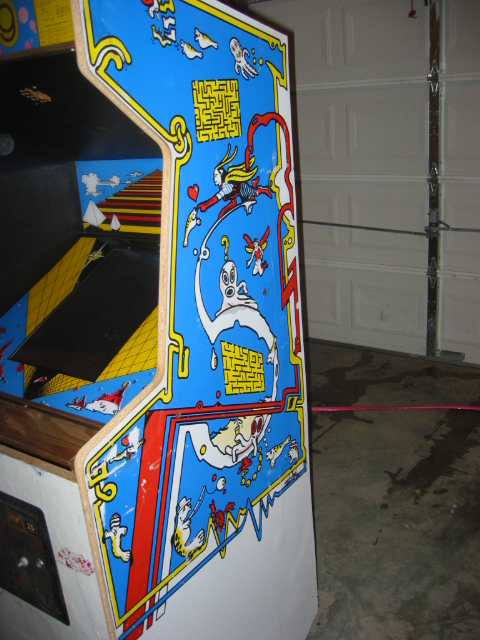
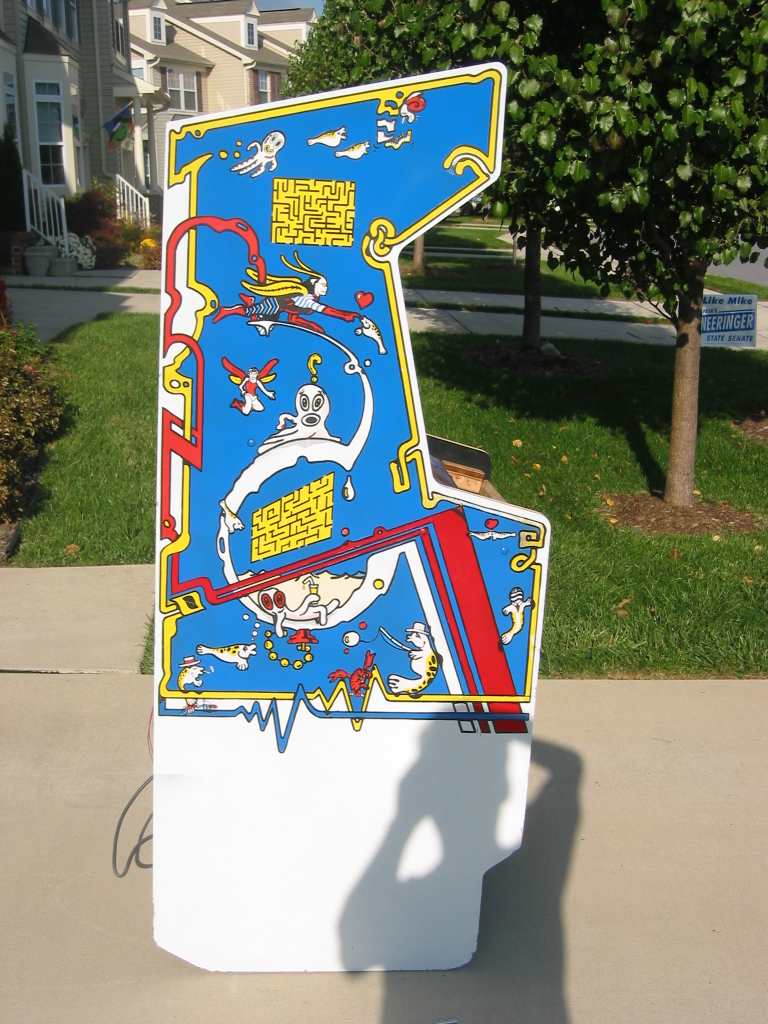
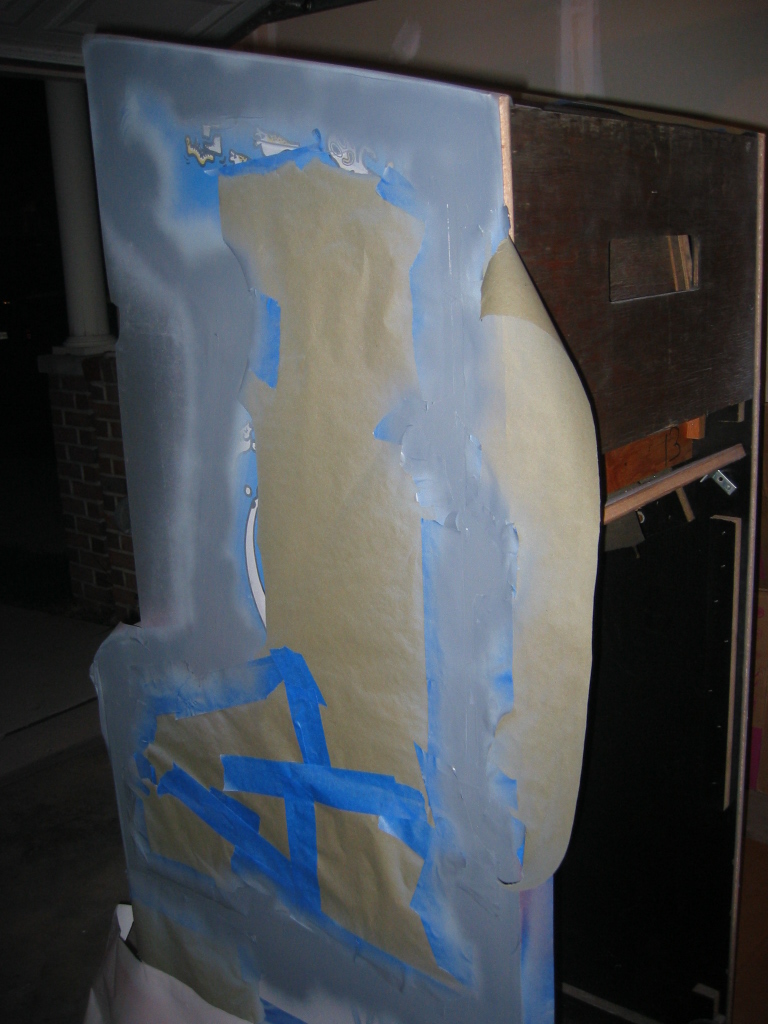
Ok, now we need to fix up the artwork on this one side
I Put some frisket on, cut out the area to paint the primed it.
(The frisket is some plastic art film that sticks gently to a surface, I cut
out the places I want to paint over with a fresh coat and spray painted
those areas. Since the frisket is ontop of the places I DO NOT want painted
over it the paint won't damage the other areas (hopefully, assuming the frisket stuck good enough). When I peel the frisket off the underneath should be in tact.
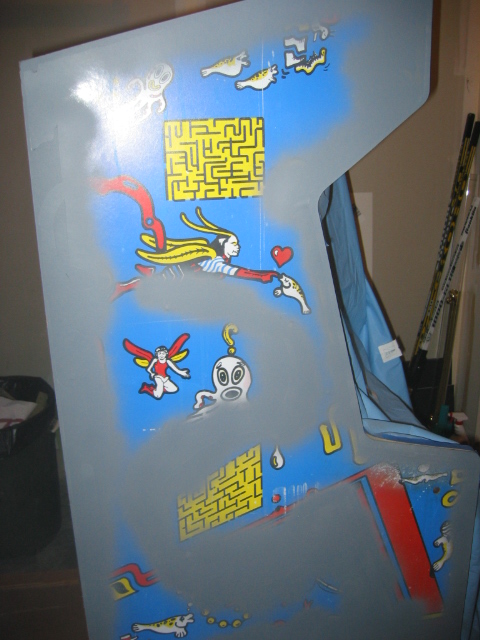

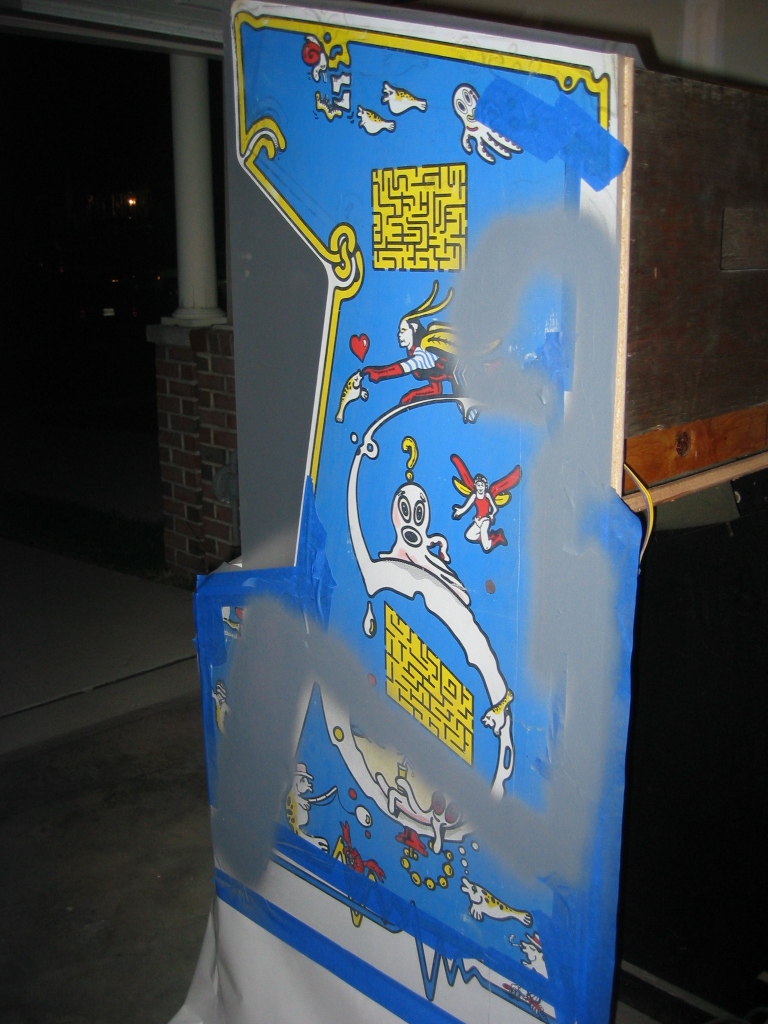
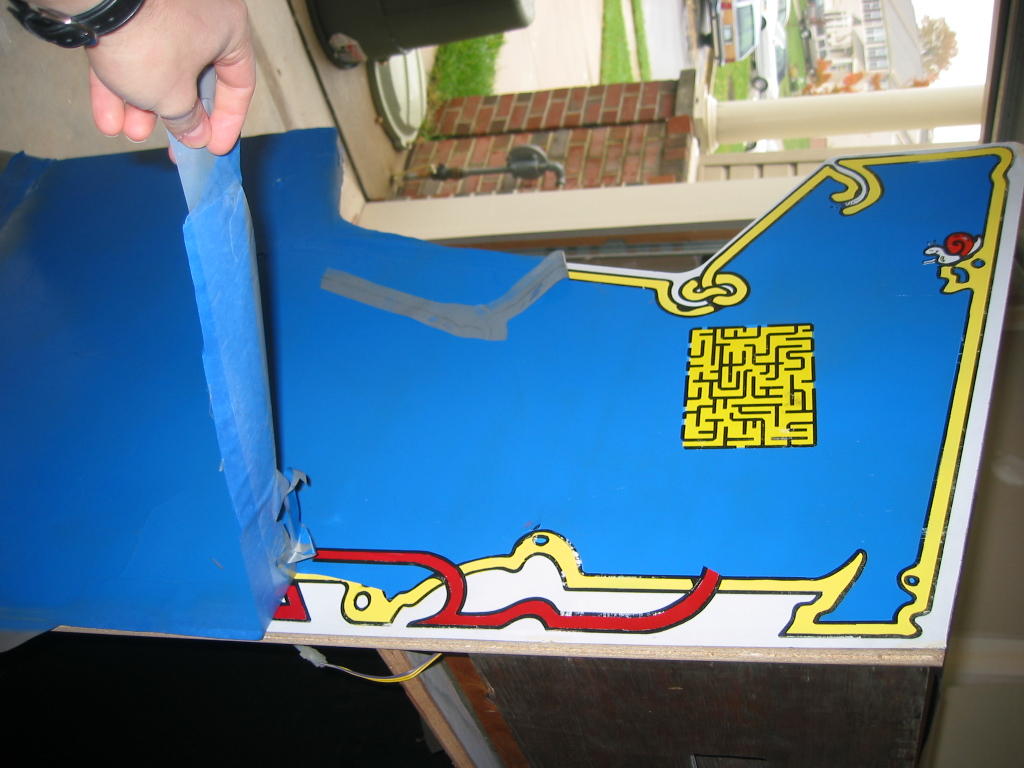
Now I did frisket and cut out all the areas except blue (since I want to repaint the blue, without messing up the other areas.
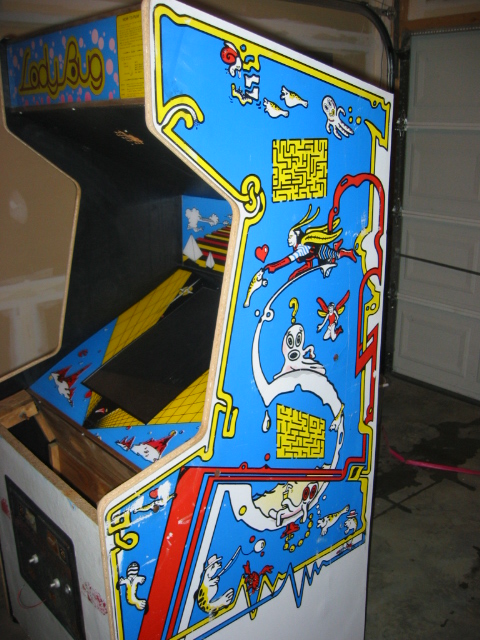
Frisket removed and detailed the black lines with a black paint pen...
it's almost done (have to fix the yellow on the right underneath the control panel)
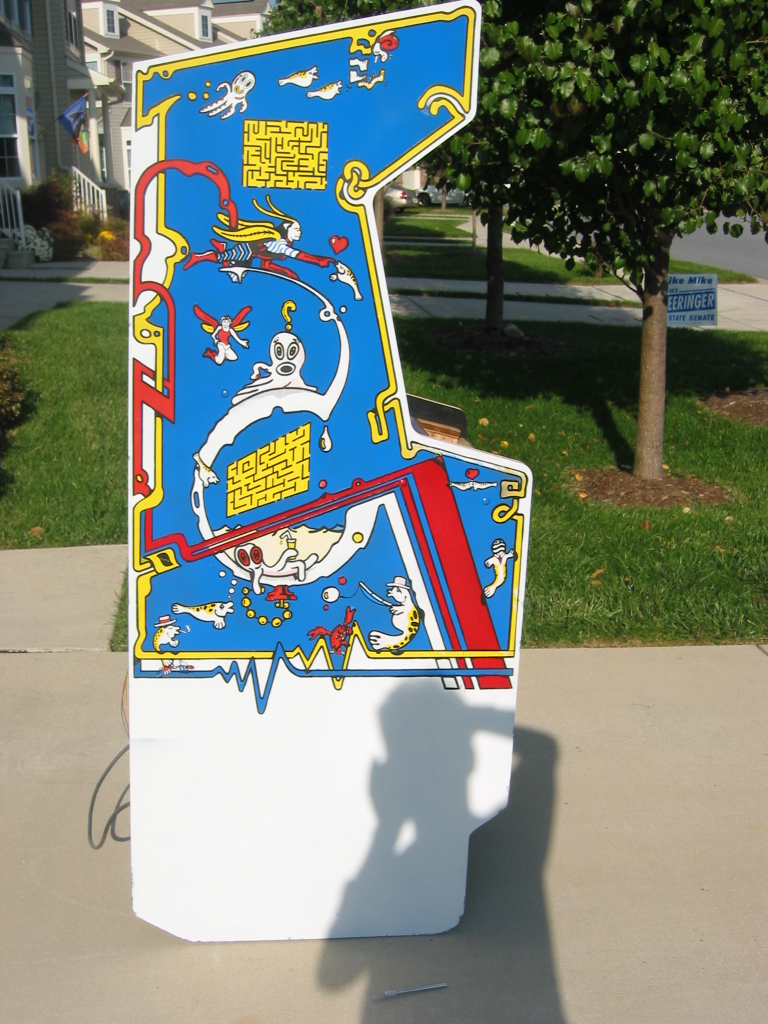
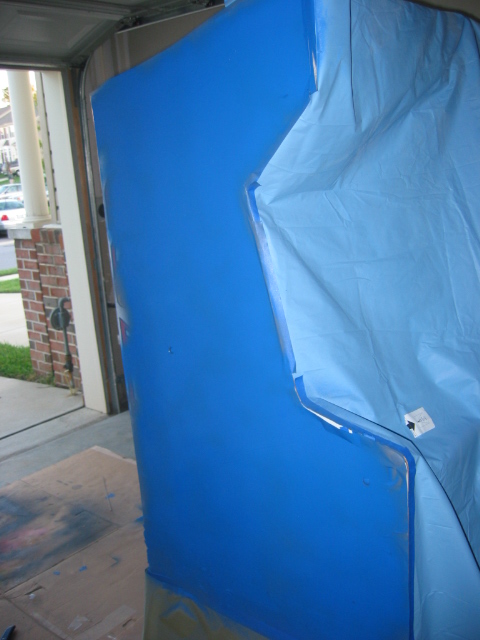
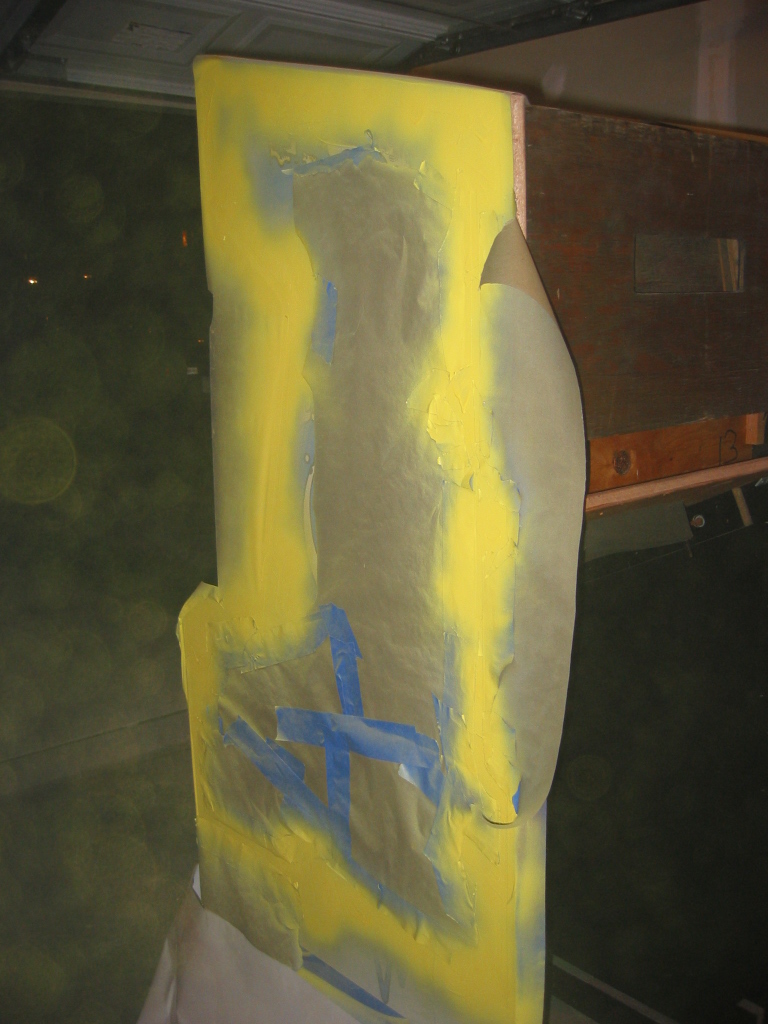
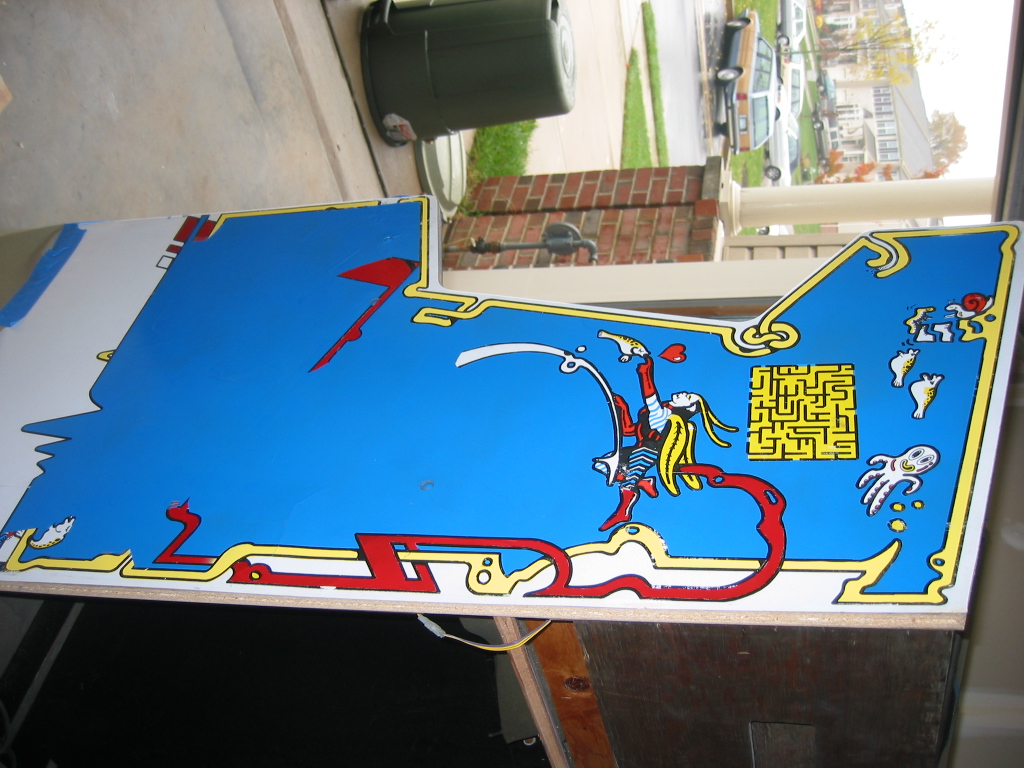
Now I have to fix up the other side!
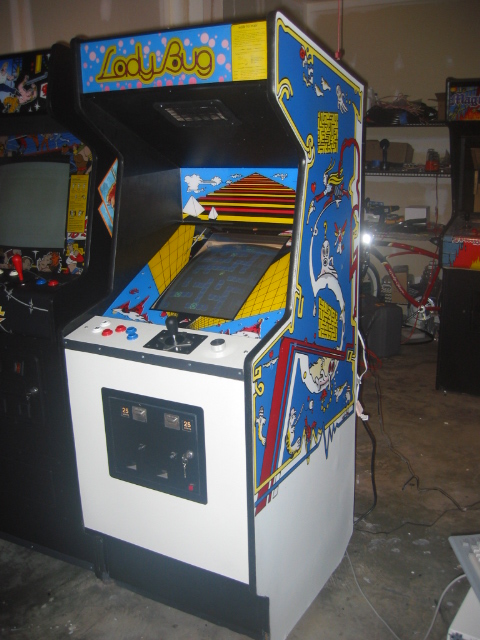
I frisketed the whole area, cut out the red areas, and primed.
Now I covered up the areas I just painted red, and Cut out the yellow areas,
and primed it.
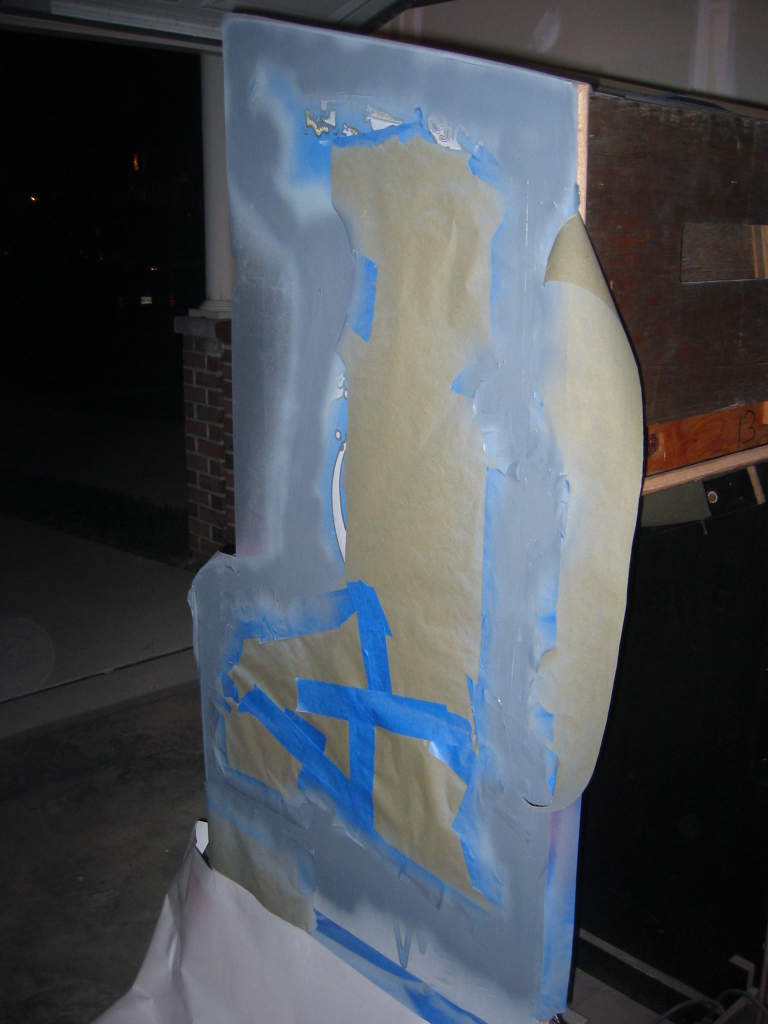
Here's ther cabinet after painting it yellow (before removing the frisket)
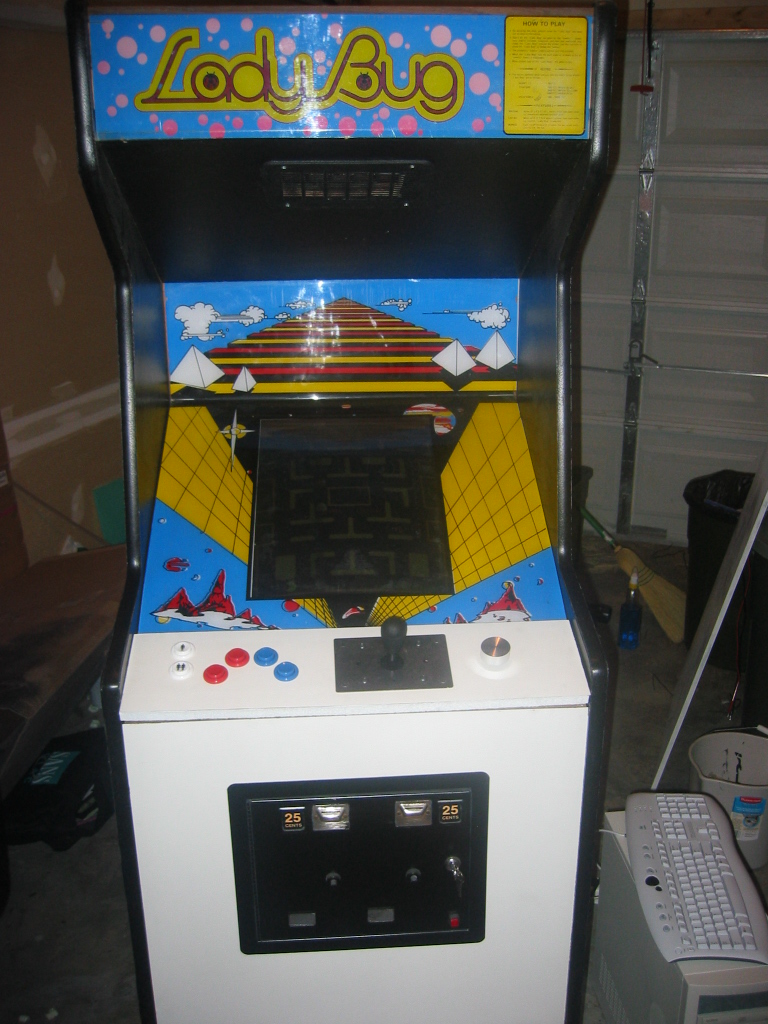
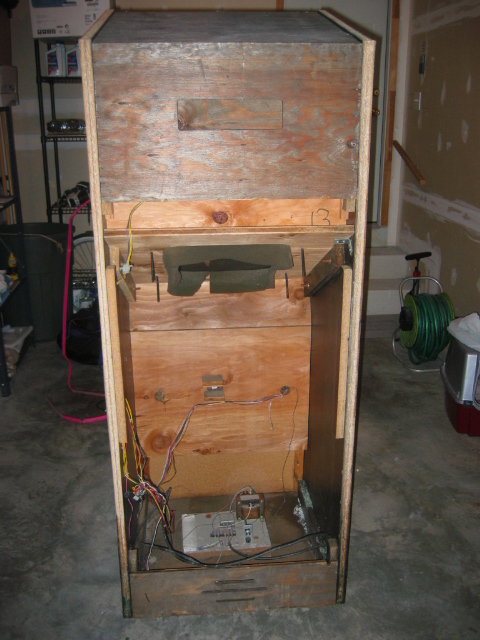
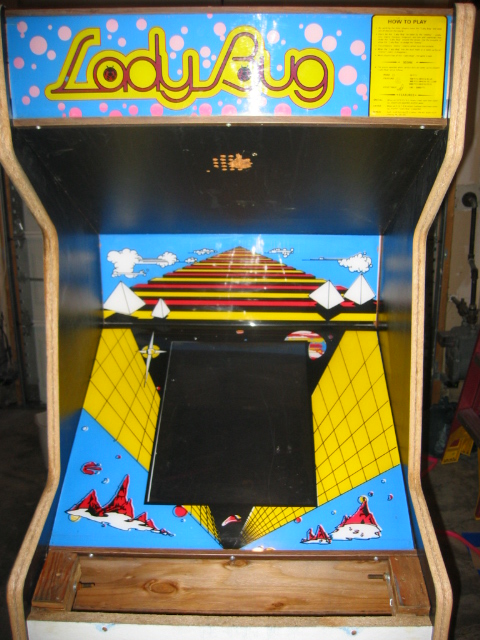
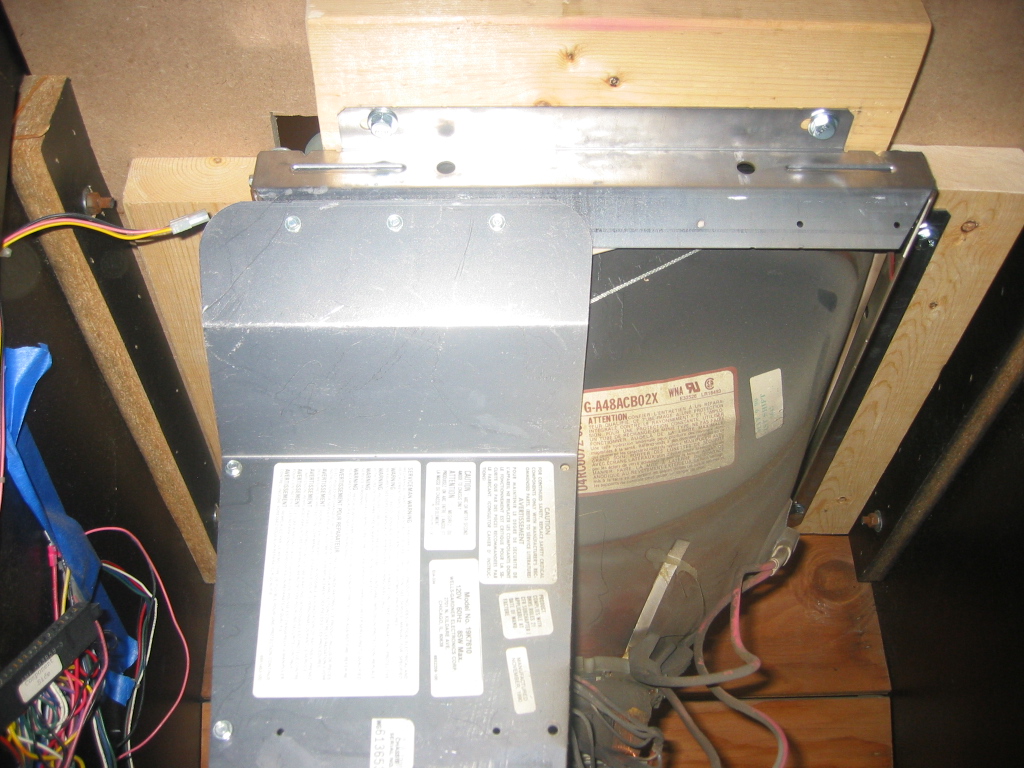
You can't possibly imagine how hard getting this monitor to fix in there
was... it wasn't a standard mount. I had to build a special mouting for
it, out of MDF board and some 2x4's and a bunch of lag bolts. but it looks pretty good! (took me like 6 months to finally get the monitor setup!. but I did have
something like 7 other cabinets I built in the meantime ;)
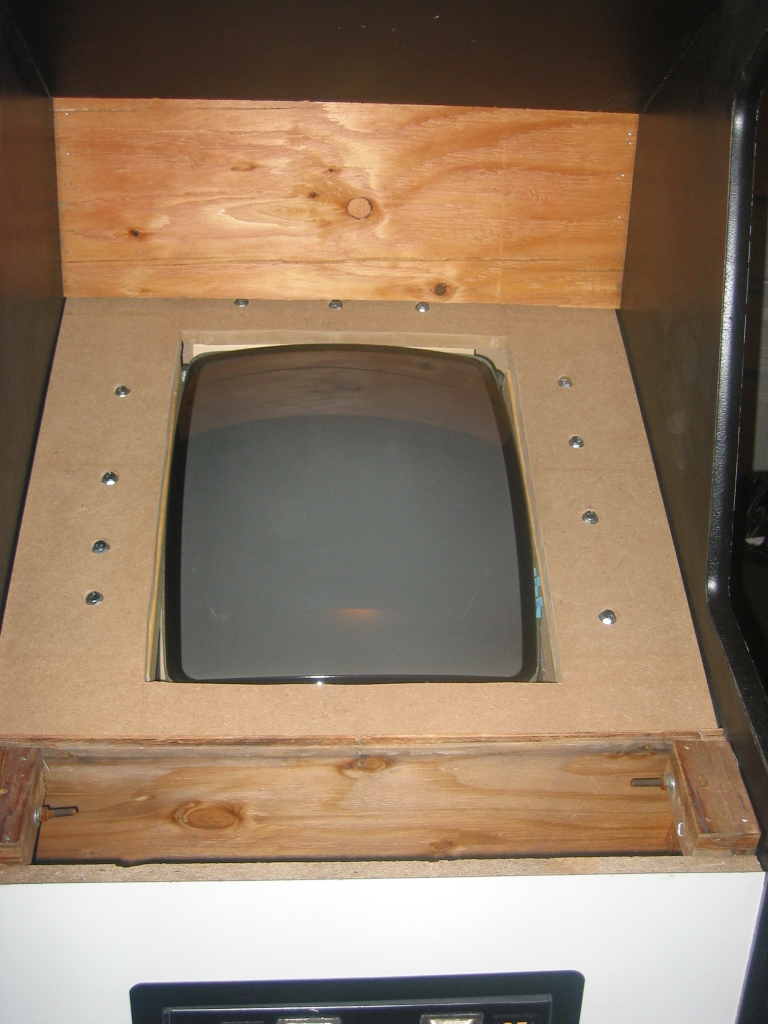
ahh... the monitor is in!